


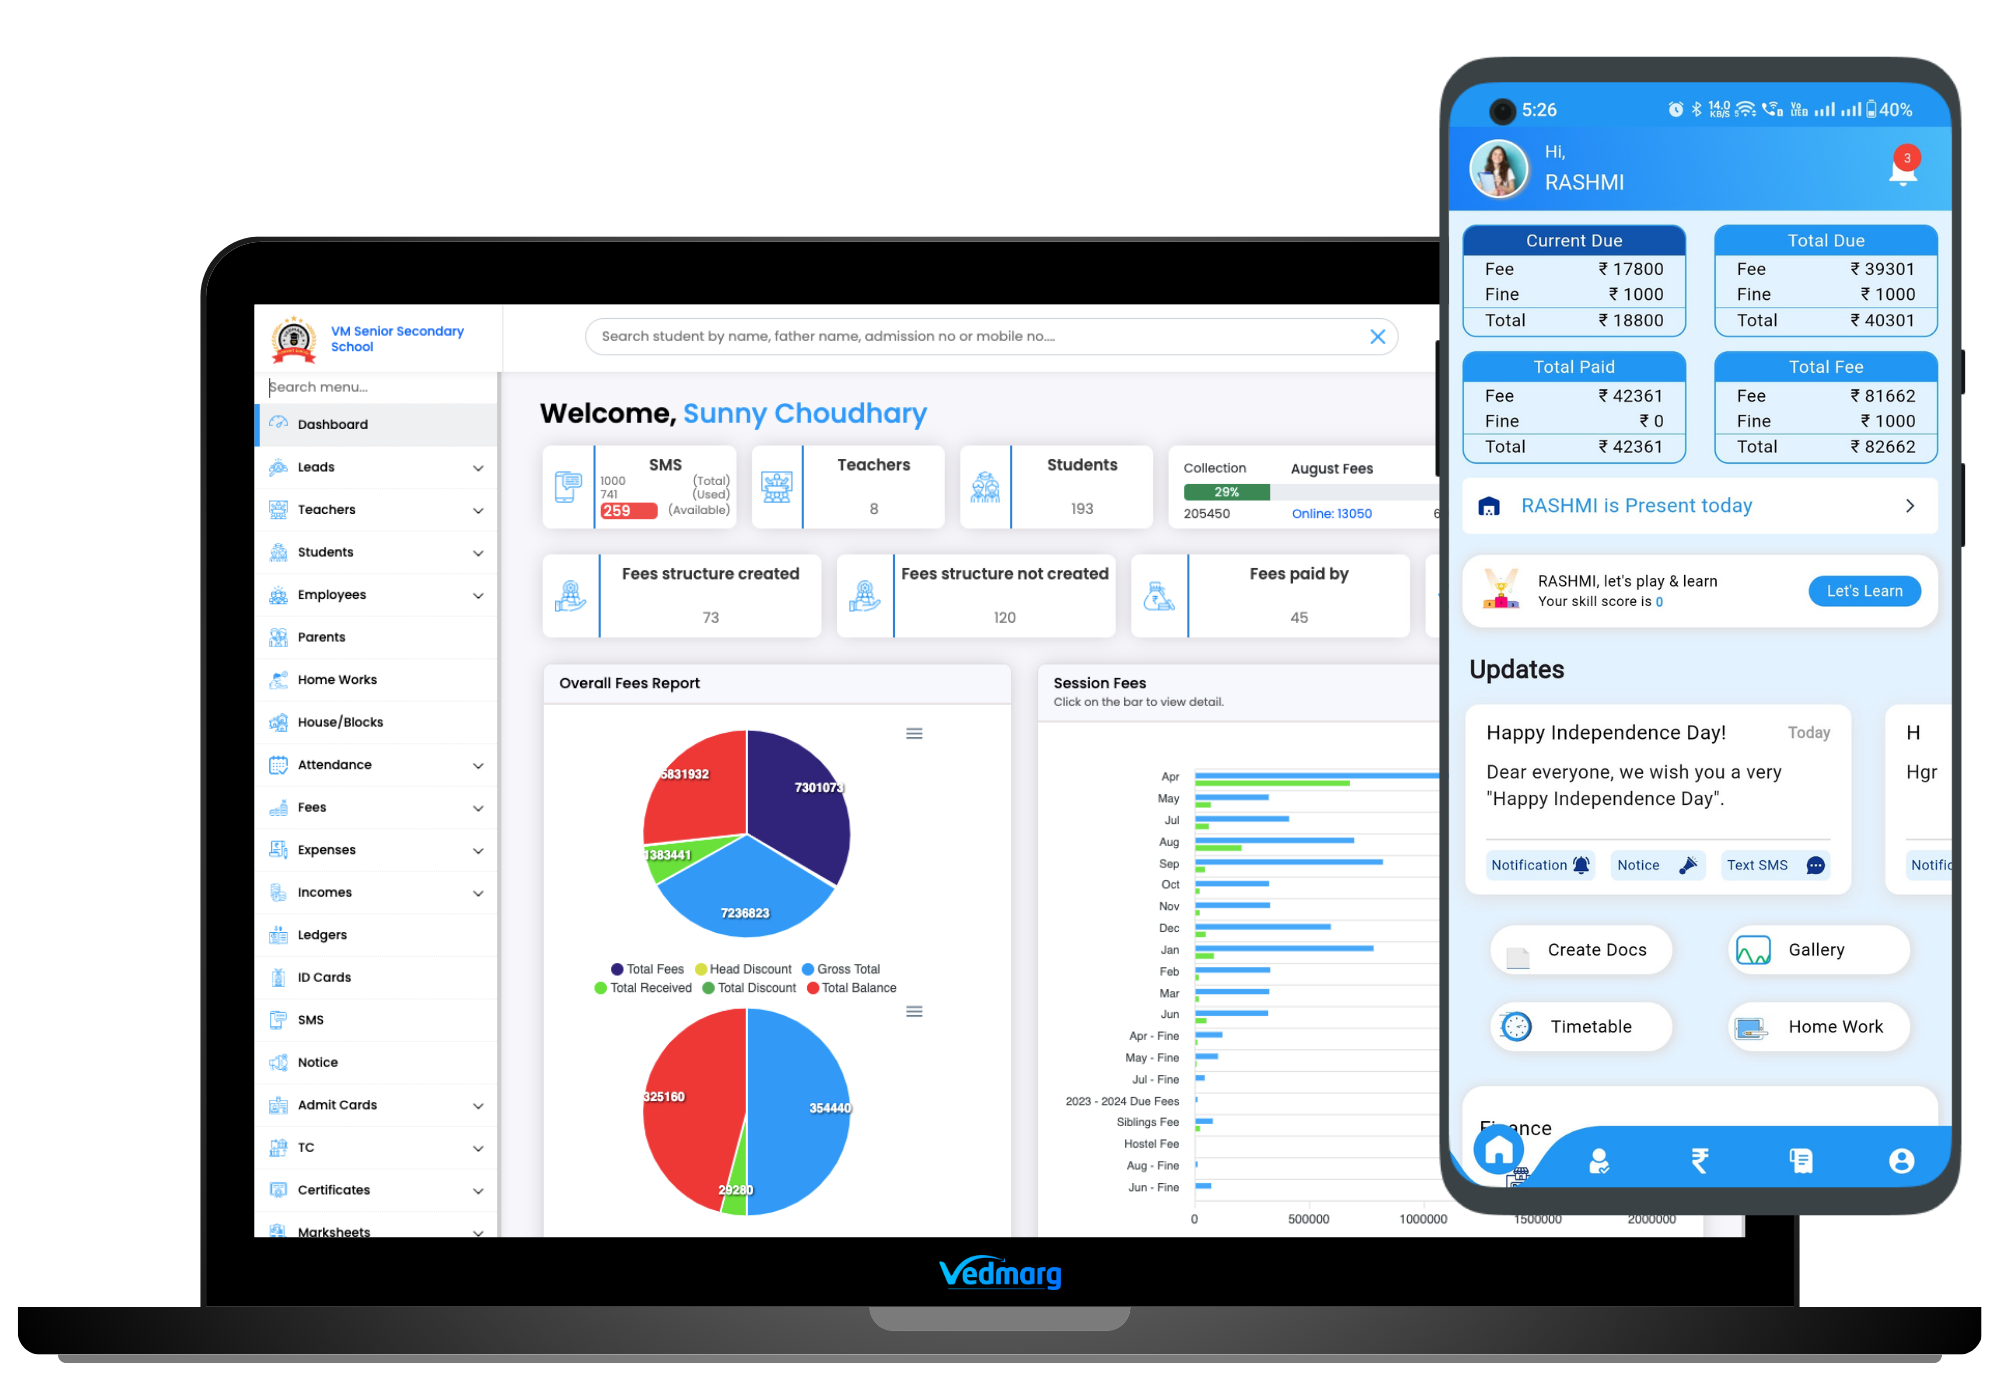
Vedmarg is a powerful education ERP software designed for schools, colleges, and institutes to simplify their day-to-day academic and administrative tasks. One of its most impactful modules is the ‘Biometric Attendance Module’, which helps institutions to manage attendance smoothly through fingerprint or face recognition.
Important Topics
In this article, we have covered step-by-step instructions on how to purchase, integrate, and setup biometric device with Vedmarg ERP.

How to Purchase an eSSL Biometric Device from the Vedmarg Website
Vedmarg provides eSSL biometric devices directly through its official website. Follow the process for the best biometric device purchase:
- Search Online: Open Google and type ‘Vedmarg Biometric Devices‘.
- Visit the Official Link: From the search results, click on the official Vedmarg link. This will take you to the dedicated page for biometric devices.

- Select the Device Model: Browse through the available options. Depending on your needs, you can pick:
1. Fingerprint only
2. Face recognition
3. A combo of both
4. Use any price or feature filters if you have a budget in mind. Click on each device for full details (specs, compatibility, etc.). - Place Your Order: Add the device to your cart, proceed to checkout, and complete the secure payment process.
- Delivery & eSSL Biometric Device Setup: Once your device is delivered, you can move forward with installation, configuration, and integration with Vedmarg ERP for real-time attendance tracking and SMS alerts.
Note: You will only see recommended devices on this page that have been selected for their superior speed and reliability.
Steps After Receiving the Device
- Connect the Device: Once your biometric device is delivered, connect it to the internet using either Wi-Fi or a LAN cable, depending on your setup.
- Locate the Serial Number: Every biometric device has a unique serial number. You can easily find it printed on a sticker placed on the backside of the device.

- Share with the Vedmarg Team: Please share this serial number with the Vedmarg support team. They will use it to register your device on the eSSL cloud software and link it with your institution’s Vedmarg ERP account.
How to Connect a Biometric Device with eSSL Online Cloud Software
Vedmarg ERP integrates with eSSL Online Cloud Software, which acts as a bridge between the biometric device and the ERP system.
Remember: Always check the latest settings in the video description of https://www.youtube.com/watch?v=OnBJlCYs5NA
- Check Latest Settings
1. Please refer to the latest settings in the video description provided by Vedmarg.
2. You can also call the Vedmarg Support Team for assistance. - Cloud Server Configuration
1. Open the device menu → Click on Communication → Select Cloud Server Setting.
2. Set ADMS to Server Mode.
3. Keep Domain Name Off.
4. Enter the Server Address and Server Port mentioned in the video description.
5. Keep Proxy Server Off. - Network Configuration
1. Go to the Menu → Select Ethernet (for LAN) or Wireless (for Wi-Fi).
2. Keep the IP Address, Subnet Mask, Gateway, and DNS the same.
3. Enter 4370 in the TCP Port field.
4. Keep DHCP On.
5. Ensure all settings match the video description. - Finalize the Setup
1. Restart the device once all settings are saved.
2. Contact the Vedmarg team to confirm that the changes have been applied correctly.
3. The Vedmarg team will then add your device to the eSSL Cloud Server.
Note:
1. Some settings may change from time to time as per the server requirements. Always cross-check with the video description for the latest updates.
2. You can check the connectivity status of your device at the top-right corner of the device screen.
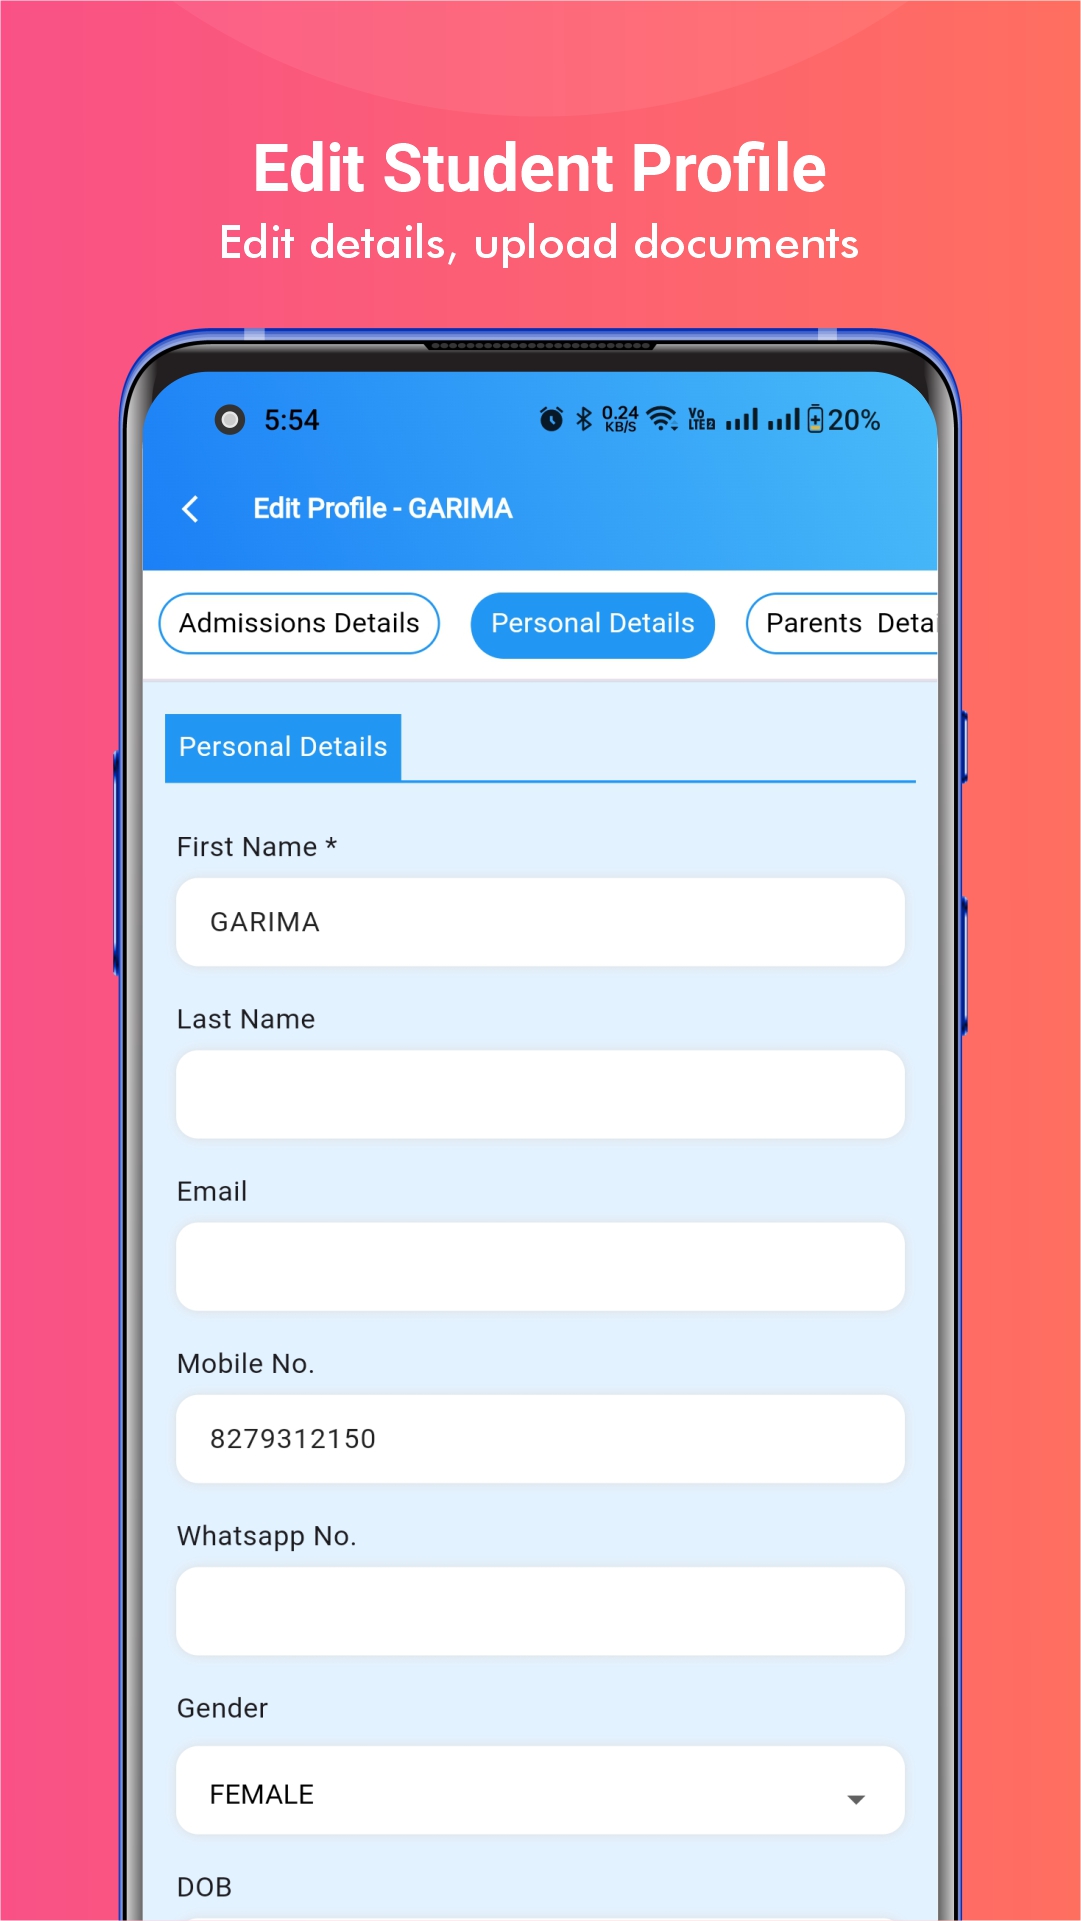
How to Add a Biometric Device to Vedmarg ERP (Step-by-Step)
- Go to the Attendance Section
1. Log in to your Vedmarg ERP account.
2. Navigate to the Attendance section.
3. Click on Biometric Devices.

- Add Device Details
1. Here, you can add one or multiple biometric devices for your institution.
2. Under Device Name, you can enter names like Device 1, Device 2, etc.
3. Enter the Serial Number of the device (the same number you shared with the Vedmarg team).
4. In the Start From option, enter the numbering point from which you want the attendance to start.
5. Add any additional information about your device in the Description field. - Set as Primary (Optional)
1. If this device will serve as your main biometric machine, you can mark it as Primary. - Save the Device
1. Click on the Save button to finalize the process.
2. Your device will now be linked to your ERP account.
Note: This way, you can easily add and manage multiple biometric devices under a single Vedmarg ERP account.
How to Do Biometric Registration / Add Data on Device
- Open Registration Option
1. Go to the Attendance section in your Vedmarg ERP dashboard.
2. Click on Biometric Registration. Read all the instructions on the screen carefully before proceeding.

- Choose Whose Attendance to Capture
1. Decide whose data you want to register in the device.
2. You can select from:
a. Everyone
b. All Students
c. All Teachers
d. All Employees
e. Or, you can also choose specific students or teachers if you want to limit the attendance group. - Register Example – All Teachers on Device 1
1. Select the device in which you are registering the data (e.g., Device 1).
2. Choose Registration as the action.
3. Click on the Submit button. - Data Transfer
1. The system will now start transferring the selected teachers’ biometric data from Vedmarg ERP to the biometric device. - Verify Biometric Codes
1. To cross-check, you can view the Biometric Code of teachers by visiting the All Teachers section in the left-side menu bar of Vedmarg ERP.
Once this process is completed, the selected teachers can begin marking their attendance directly from the biometric device, with records automatically synced to Vedmarg ERP.
How to Check the Biometric Code & the Teachers List in Device

Access User Management
1. On your biometric device, go to the User Management section.
2. Click on All Users to see the list of teachers (or students/employees) along with their assigned Biometric Codes.
How to Set Up Fingerprint & Face Recognition in a Device
Vedmarg ERP supports both fingerprint and face recognition for flexibility:
- Select a User
1. Choose the specific User Code for whom you want to set up biometric authentication.
2. Click on Edit to open that user’s profile.
3. Here, you will see the different features supported by your device, such as Fingerprint, Face, or PVC Card.

- Fingerprint Setup (Example)
1. Select the Fingerprint option
2. Choose the finger you want to enroll in.
3. Place the finger on the scanner and scan it three times for accuracy.
4. If required, you can also register multiple fingers for the same user. - Face or PVC Card Setup
1. For Face Recognition, select the face option and follow the on-screen instructions to capture the face data.
2. For PVC Cards, simply scan the card assigned to the user.
Once the enrollment is complete, the teacher (or student/employee) can use their fingerprint, face, or PVC card to mark attendance. All records will automatically sync with Vedmarg ERP in real-time.
How to Test if Fingerprint / Face Card Attendance is Working
After setting up one or two users, it is recommended to test your biometric device to ensure it is working properly.
- Test Attendance Marking
1. Ask the registered user to scan their fingerprint, face, or PVC card on the device.

- Check Device Response
Once scanned, the device will display details such as:
1. User Name
2. User Code
3. Scan Method (Fingerprint, Face, or Card) - Verify ERP Sync
1. Cross-check in the Biometric Attendance Log section of Vedmarg ERP to confirm that the attendance has been recorded successfully.
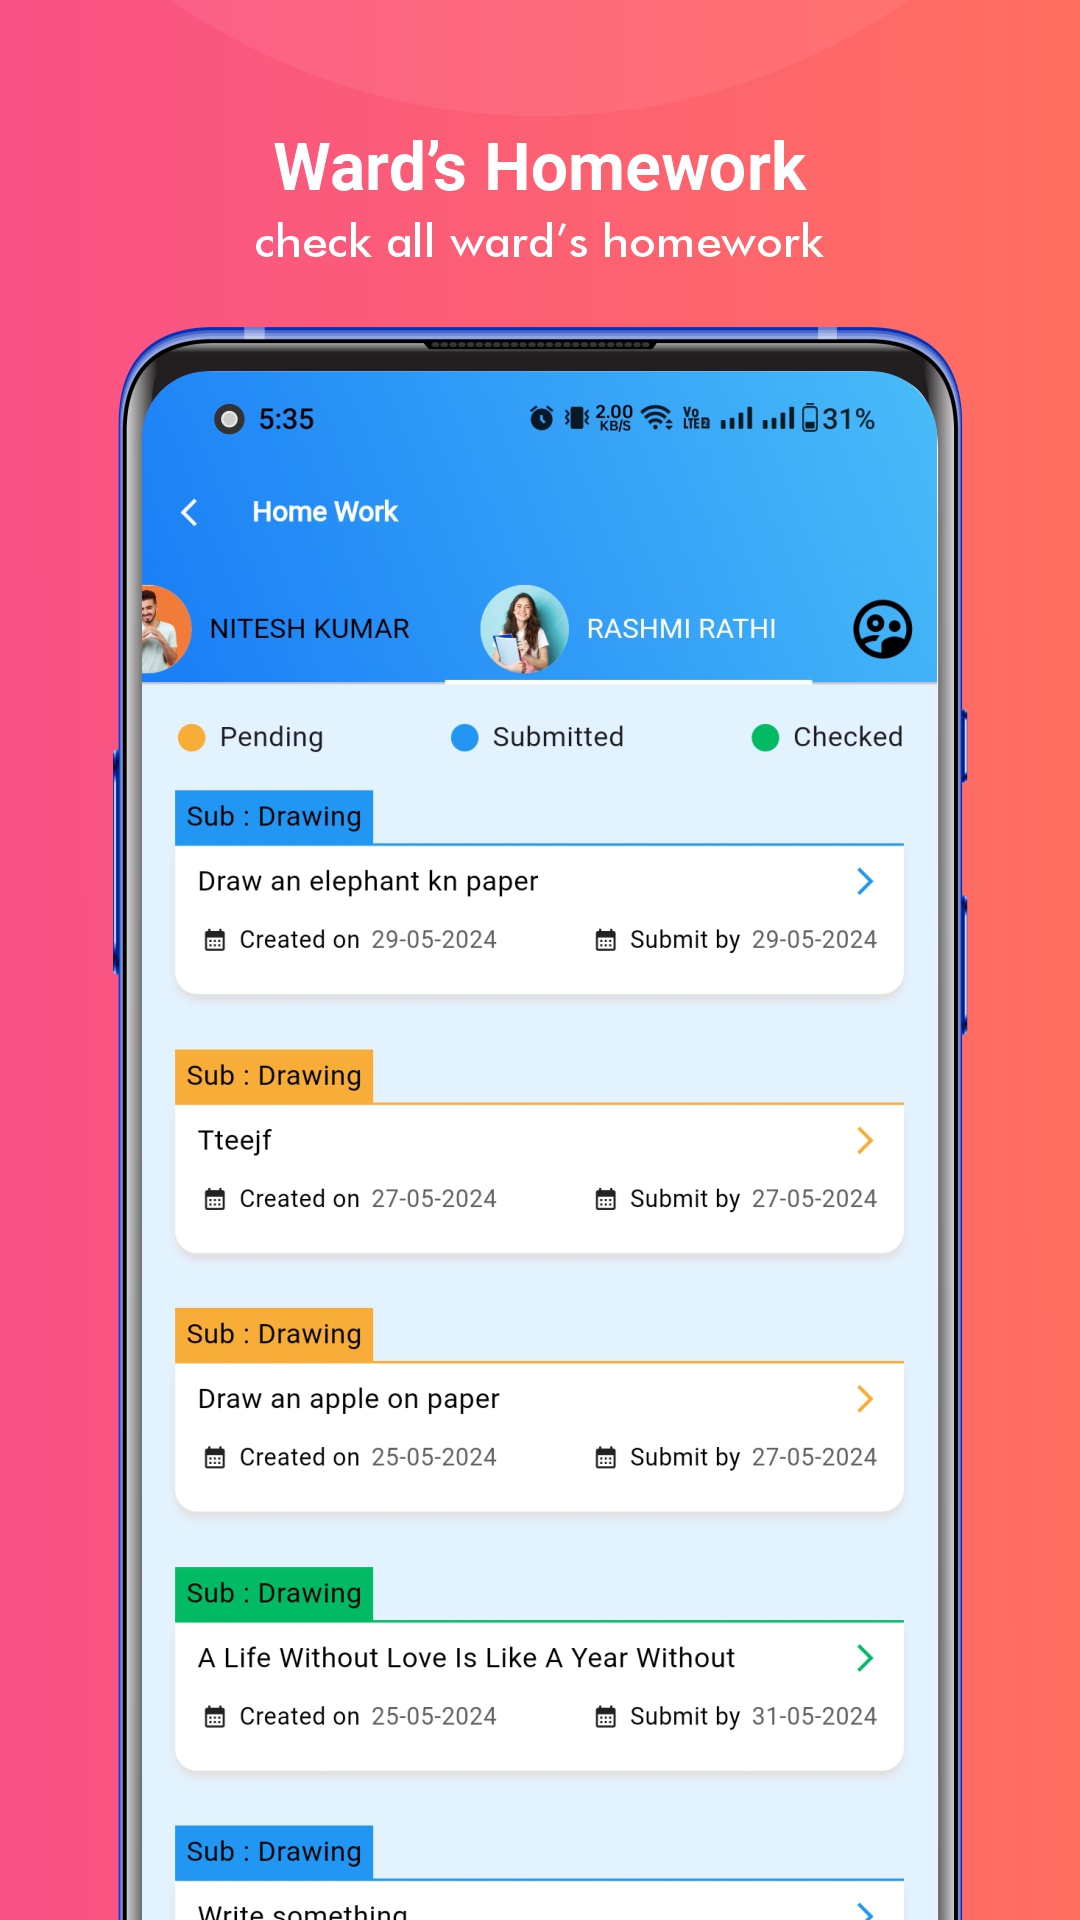
How to Check User Attendance in Vedmarg ERP
- Access Attendance Logs
1. Go to the Attendance section in Vedmarg ERP.
2. Click on Biometric Attendance Log.

- View Attendance Details
Here, you will see a detailed record of all users with information such as:
1. Biometric Code
2. Role (Student, Teacher, Employee, etc.)
3. Name
4. Class (for students)
5. Device Used
6. Date & Time of attendance
7. Mode (Fingerprint, Face, or Card) - Filter & Reports
1. You can apply date-wise filters to view attendance for a specific day, week, or month.
2. Reports can be downloaded in PDF or Excel format for record-keeping, analysis, or sharing with management.
How to Delete Bulk Data from a Biometric Device
Vedmarg ERP also allows you to remove user data from biometric devices in bulk, making it easy to manage changes in staff or student records.
- Select User Type
1. Choose whose data you want to delete, such as Students, Teachers, or Employees. - Select the Device
1. Pick the biometric device from which you want to remove the data.

- Choose the Action
1. From the action menu, select Delete. - Submit the Request
1. Click on the Submit button.
2. The selected user data will be deleted from the chosen device in bulk.
How to Generate a Biometric Code/ Biometric Registration of a User
- Go to the User Section
1. Navigate to All Teachers, All Students, or All Employees, depending on the user whose biometric code you want to generate.

- Generate Biometric Code
1. Find the user in the list and click on Actions.
2. From the dropdown, select Biometric Registration.
3. Confirm the action by clicking on it. - Sync with Device
1. The system will instantly generate the biometric code and sync it with your selected biometric device within seconds. - Set Up Biometric Method
1. After code generation, you can proceed to set up the user’s Fingerprint, Face Recognition, or PVC Card directly on the device.
How to Delete Biometric Registration of a User
- Go to the User Section
1. Open All Teachers, All Students, or All Employees, depending on the user.

- Select the User
1. Find the specific user whose biometric code you want to delete.
2. Click on Actions. - Delete Biometric
1. From the dropdown, select Delete Biometric.
2. Confirm the action by clicking on it. - Completion
1. The biometric code of the user will be deleted within seconds and will no longer sync with the device.
How to Copy Data from One Biometric Device to Another
- Open Biometric Registration
1. Go to the Attendance section in Vedmarg ERP.
2. Click on Biometric Registration.

- Select Copy Biometric Code
1. Click on the Copy Biometric Code option. - Choose Source & Destination Devices
1. Select the device from which you want to copy the data.
2. Then select the device on which you want to paste the data. - Copy & Sync
1. Click on the Copy button.
2. The selected data will start syncing from the source device to the destination device.
Note: Only the biometric codes will be copied this way. The fingerprint, face, or PVC card setup for users must still be done manually on each device.
General Queries
1. eSSL Biometric Device Setup – How to Connect with Vedmarg ERP?
2. Best Biometric Device Purchase for Schools & Colleges
3. Biometric Device Setup Kaise Karen?
4. Can I Register Both Teachers and Students on the Same Biometric Device?
5. How to Generate Biometric Codes for Users?
6. Can biometric devices work without internet?
7. Which is better for attendance – fingerprint or face recognition?
8. How to Check Biometric Attendance Logs in Vedmarg ERP?
9. What to Do If Biometric Attendance Is Not Syncing?
10. Can I Copy Biometric Data from One Device to Another?
Conclusion:
The Biometric Attendance Module in Vedmarg ERP is a reliable and smart solution for managing attendance in schools and colleges. From purchasing the device to registering users, syncing data, and generating real-time reports, the software offers accuracy and efficiency to a greater extent.
By following the above-mentioned steps, institutions can not only manage attendance seamlessly, but they also save time and reduce errors significantly. With Vedmarg ERP, biometric integration becomes highly effective for all sorts of educational institutions.


