


Creating accurate and professional marksheets is a critical academic task for CBSE-affiliated schools. A Create CBSE Marksheet Online system helps schools generate error-free, standardized, and digitally secure marksheets without manual paperwork or complex calculations.
Important Topics
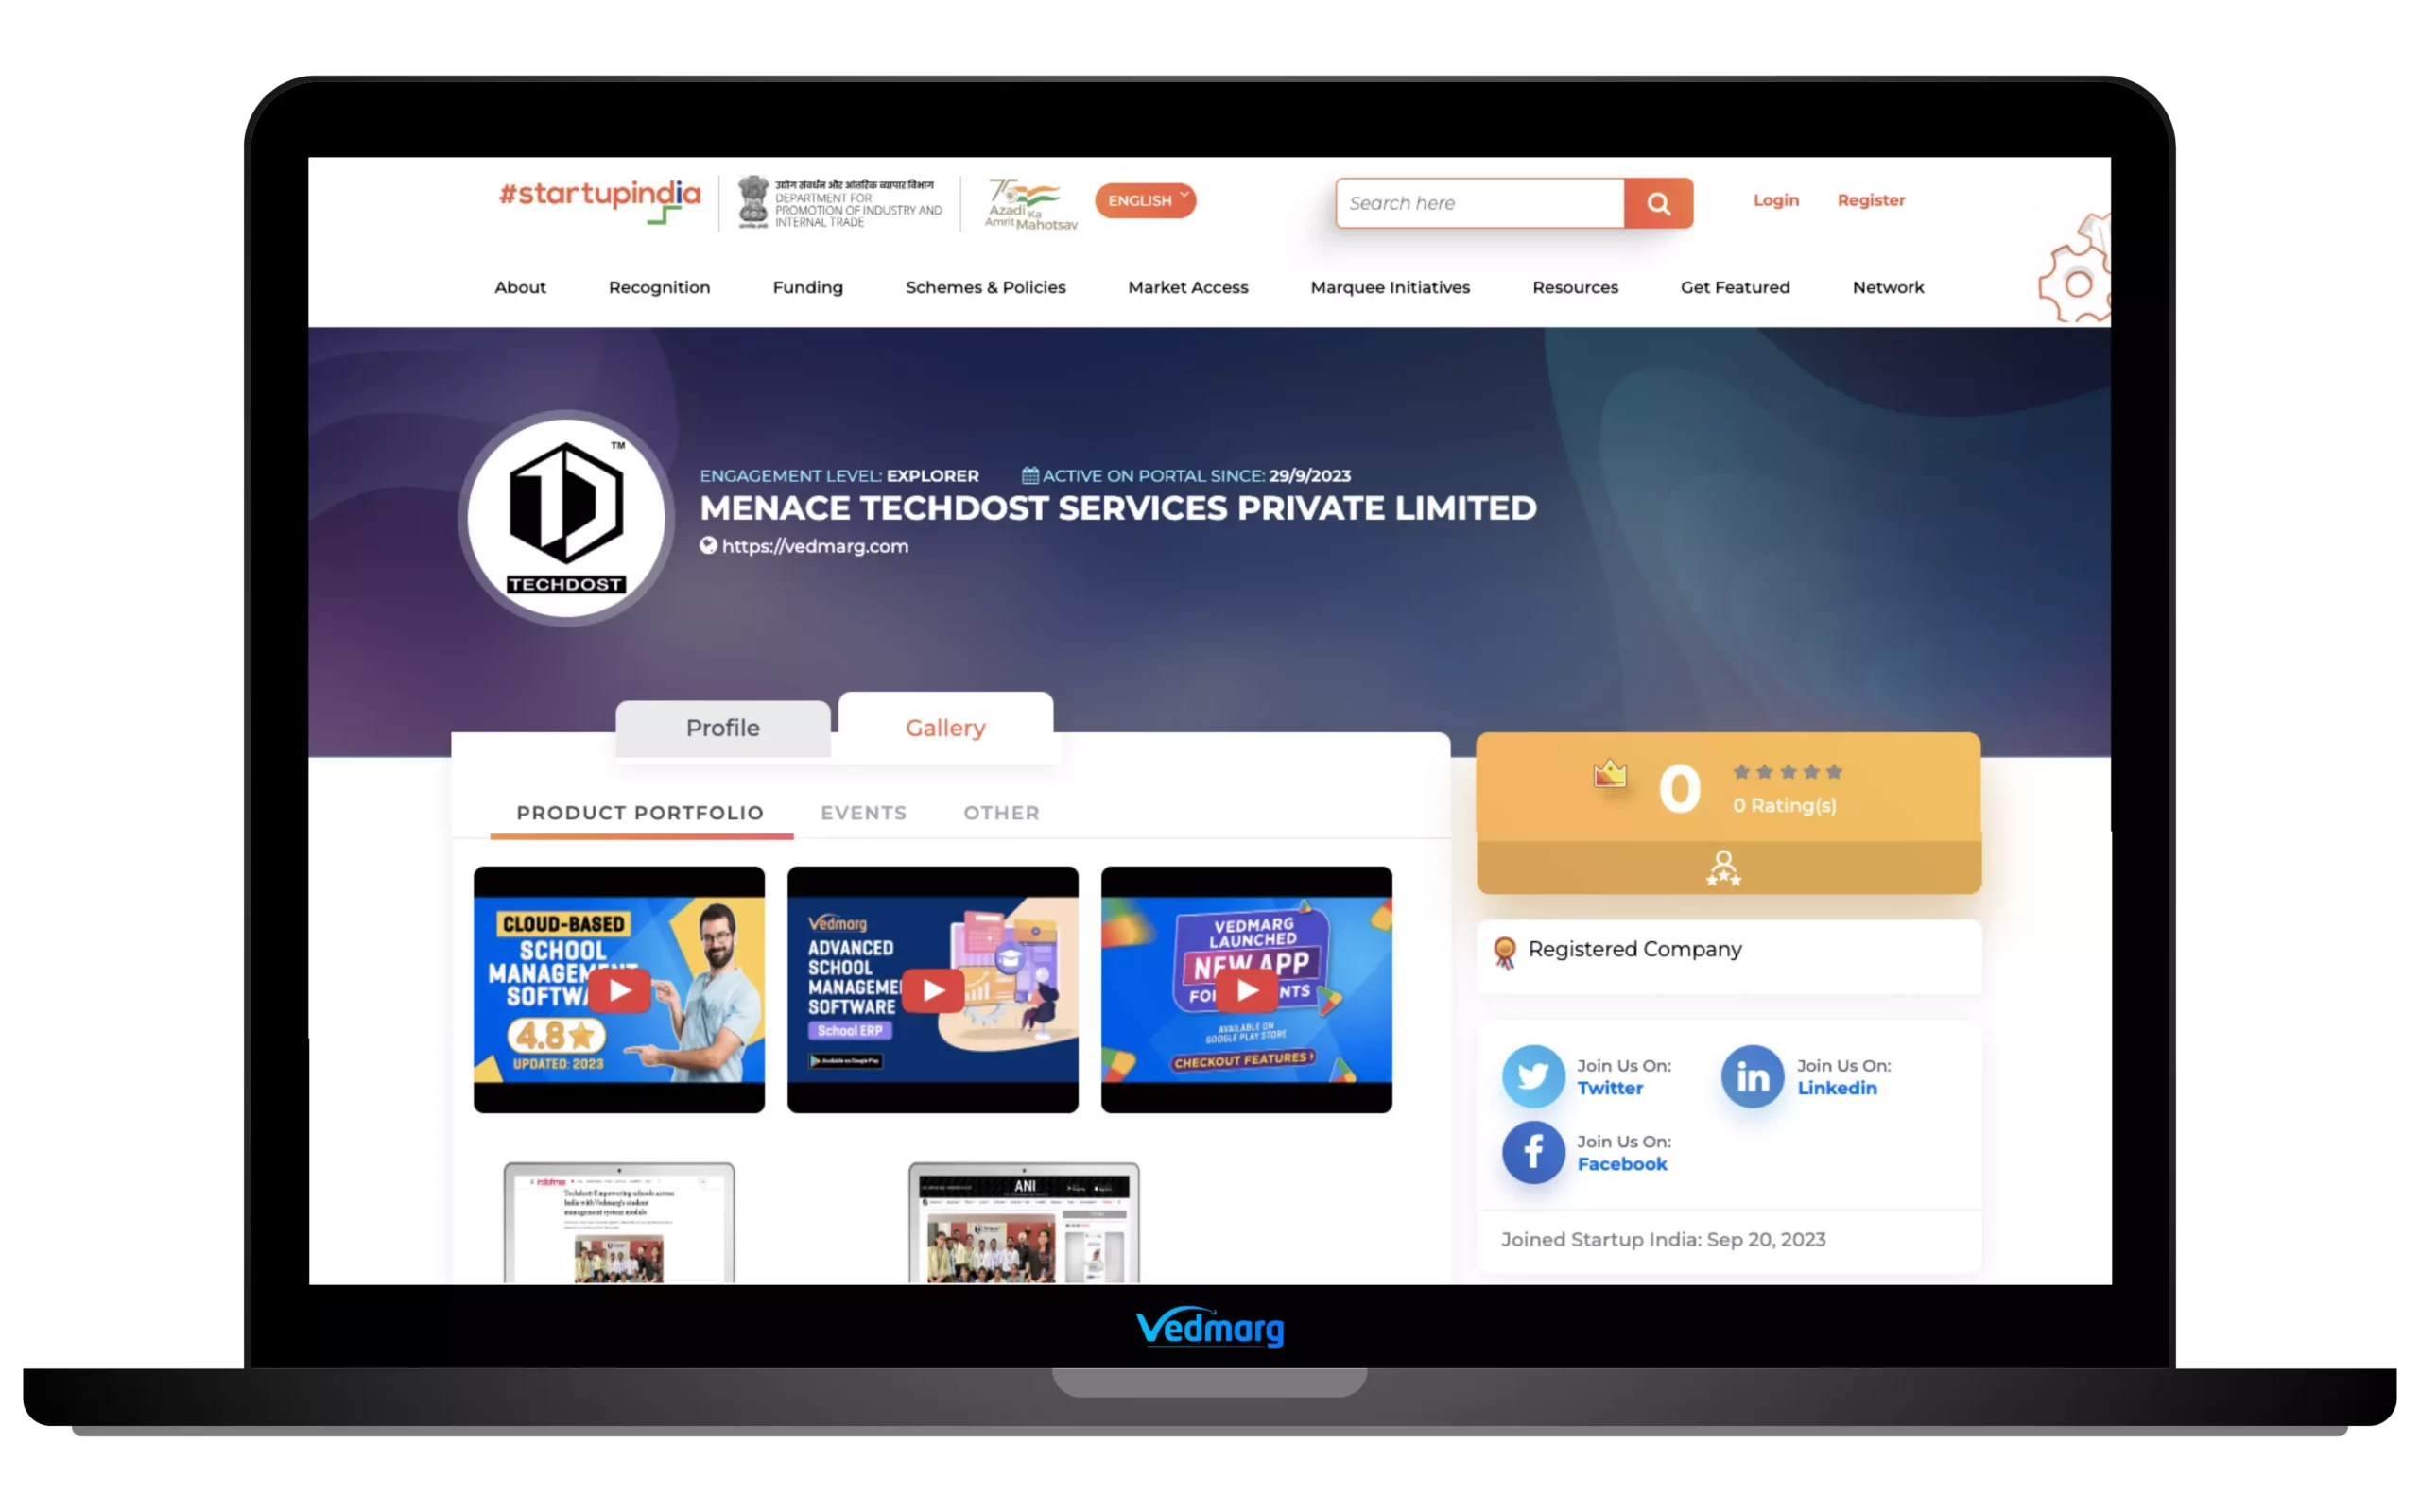
Vedmarg provides an advanced CBSE marksheet creation module that enables schools to prepare, manage, and distribute CBSE-compliant marksheets online with speed and accuracy.
The CBSE Marksheet Generation & CBSE Report Card is a significant aspect of academics that helps in analyzing the overall progress of a child. As technology has evolved so much in today’s scenario, Schools have started settling on a more efficient way of delivering detailed results with the school management software.


The school marksheet format module of school ERP software is an aid for teachers and administrators in creating CBSE marksheet format for school in a digital manner. It reduces the complexity and over-burden of managing the results process. With Vedmarg ERP, Schools can access the mark sheets online without any hassle. This saves time and delivers quality work.
What Is an Online CBSE Marksheet Creation System?
An online CBSE marksheet creation system is a digital solution that allows schools to:
-
Enter subject-wise marks
-
Apply CBSE grading rules
-
Auto-calculate totals, percentages, and grades
-
Generate printable and downloadable marksheets
This eliminates manual errors and ensures uniformity across all student academic records.
Traditional School Marksheet Format & CBSE Report Card Management System
Earlier, The teachers had to face the burden of managing the results of students. They have to spend a couple of days preparing the results on the paper. It was a time-consuming process and had more chances for errors. This process is known as traditional school marksheet management system.

A teacher had to write down the marks for assignments, test scores, and examinations assigned to a particular student manually. Moreover, They had to analyze the performance of each student by hand in order to obtain the top divisions.
In a nutshell, A teacher had to go through a lot of painstaking experience in order to generate the results.
Why Schools Should Create CBSE Marksheet Online?
-
Accuracy & Error-Free Results
Automatic calculations remove human errors in totals, percentages, and grades.
-
Saves Time & Effort
Teachers and exam staff can generate hundreds of marksheets within minutes.
-
CBSE-Compliant Format
The system follows CBSE-approved marksheet structure and grading standards.
-
Digital Record Management
All marksheets are stored securely for future reference, reprints, or audits.
Key Features of CBSE Marksheet Creation Software
Vedmarg’s CBSE marksheet module is designed for simplicity, accuracy, and compliance.
-
Online marks entry for all subjects
-
Automatic grade and percentage calculation
-
CBSE-compliant marksheet format
-
Student-wise and class-wise marksheets
-
Editable before final publishing
-
Printable and downloadable PDF format
-
Secure academic data storage
-
Integration with student and exam records
Benefits of Online CBSE Marksheet System for Schools
-
Reduces administrative workload
-
Ensures academic accuracy
-
Maintains consistent grading standards
-
Improves teacher productivity
-
Enables quick reprints and corrections
-
Enhances parent and student trust
The system is ideal for CBSE schools, senior secondary schools, and educational institutes.
Use Cases of CBSE Marksheet Creation Software
-
Unit tests and periodic assessments
-
Half-yearly and annual exams
-
Board exam internal assessments
-
Re-evaluation and corrections
-
Duplicate marksheet generation
Why Choose Vedmarg for CBSE Marksheet Creation?
Vedmarg is a complete education ERP software built specifically for Indian schools. Its CBSE marksheet module:
-
Follows CBSE academic guidelines
-
Is easy for teachers to use
-
Works seamlessly with exam and student data
-
Supports long-term academic record management
With Vedmarg, schools can move towards fully digital and paperless examination processes.
Vedmarg CBSE Marksheet Management System – Detailed Overview
With Vedmarg School ERP, A teacher has to just enter the marks obtained by a student in each subject. The automated system will do the rest of the job on its own. It will generate the complete report card of an individual student without any error.

The powerful tool enables educators to focus on academics, rather than engaging in administrative tasks.
Create CBSE Marksheet or CBSE Report Card Online on Vedmarg School ERP Software
If you want to delete anything, just confirm with our support team to check the feasibility of the future actions and cons.
Step 1: Create Classes
- Go to masters and classes (link: https://account.vedmarg.com/user/classes)
- Add sections to your classes like A, B, C etc.
- Save your classes.

Warning: Don’t delete your existing classes if they have students. But, still if you deleted any class by mistake, you can restore deleted classes from here.
Pro Tip: You can add/edit classes anytime and also add new sections anytime.
How to Add Classes, Subjects and Books for Timetable and Result Card
Step 2: Add Streams

- Go to masters > streams and add streams whichever you have in your classes or schools (link: https://account.vedmarg.com/user/streams)
- For ex: If you have maths and biology streams in class 11th and class 12th, so create ’11th Maths’ and ’11th Biology’.
- Also, if you don’t have any stream in any class, just create a stream ‘No Stream’ and save it,
Step 3: Add Subjects and Assign into Streams
- Now, you can add subjects in all classes (link: https://account.vedmarg.com/user/subjects)
- You can choose multiple stream for the subject you are adding. For ex: if you are adding Hindi, you can add this into 11th Maths and 11th Biology streams and select classes accordingly. But, if you are adding Biology, select 11th Biology as stream to show this subject in marksheet for biology students only.
- Here, you can assign any subject into 3 categories:
- Grade (for entering marks in marksheet)
- Activity (for grading system in marksheet) – Optional
- Discipline (for grading system in marksheet) – Optional

Warning: Don’t delete subject in the middle of session, otherwise you may lose your marks in the marksheets.
Pro Tip: You can assign a single subject in multiple classes in a single click with bulk option.
How to Add Classes, Subjects and Books for Timetable and Result Card
Step 4: Assign Streams To Students (Bulk Edit Available)
After creating your classes and streams, it’s time to assign streams to students. Here is simple way to assign streams to students:

- Go to students > bulk student edit and move to stream column.
- Select the stream according to the class and students easily and its save automatically.
- Done.
Warning: Create and assign stream carefully otherwise students will not be visible in bulk marks entry
Pro Tip: You can assign streams to all students easily with the help of our ‘Global search’ available at the top of the ERP.
Step 5: Create Group in Marksheet Setting (Term System)
Group is like term system according to CBSE marksheet and you can create terms in Vedmarg portal using our group features. If you are willing to use CBSE marksheet, we recommend you to use term/group settings as described below:

- Go to marksheet and then marksheet’s settings (link: https://account.vedmarg.com/user/marksheet/setting)
- Here, you will see 4 sub-settings and the first one is group and here you can create Term-1, Term-2 and so on (if applicable)
- Create term-2 group only if you have conducted the exams applicable for term-2. Don’t add term-2 in advance. You can add term-2 later, anytime.
- Save term and move to next step.
Warning: If you are not using CBSE marksheet, you can skip the group/term settings. Don’t remove created terms, it may lose your data.
Pro Tip: You can create term-2 anytime.
Step 6: Create Exams/Tests (Term Wise)
The next step is to create tests/exams as per your school/college’s requirements. You can create exams by going to Marksheets > Settings > Exams (link: https://account.vedmarg.com/user/marksheet/setting?tab=exams)

For Ex:
- If you have conducted the Unit-1 in you school, you can create an exam ‘Unit-1’ and select it to Term-1 (only if you want to add it to term-1 group.
- Select ‘Yes’ if you have conducted the exam in school and want to fill marks now. Don’t make it yes for upcoming exams, it will be shown in the current marksheet and will have blank columns.
- Select the classes in which Unit-1 conducted. The same exam will be shown in the marksheet of the selected classes’ students.
- If you have subjects like Hindi-1, Hindi-2, you can select double column, otherwise select single column only.
- Enter the maximum marks for the created Unit-1 exam.
Warning: Don’t delete any exam after filling the marks of students. It may lose your data.
Pro Tip: You can create exams anytime, edit anything, anytime but before filling the marks.
Step 7: Setup Subject Grade and Percentage Range
Here, you can set grade and percentage ranges for marks, activities and discipline headers (link: https://account.vedmarg.com/user/marksheet/setting?tab=grade-ranges)

For Ex:
- Percentage Remarks Range (Main Subjects)
- 85-100 : Excellent
- 75-84 : Very Good
- 65-74 : Good
- and so on…
- Subject Grade Range (Discipline, Co-curricular Activities)
- 80-100 : A+
- 70-79 : A
- 60-69 : B+
- and so on…
Warning: You must setup these things before filling the marks, otherwise you need to update your marksheets (class wise, just edit and save) to fetch the current settings.
Pro Tip: You can change these things anytime but to show the latest settings/grades/remarks, you need to edit your marksheets by bulk edit (just edit and hit save) and it’s done. You can show/hide grade system on your marksheet as per your requirements and you can manage this by advanced options (next step).
Step 8: Setup Advanced Options (Customization As Per Your Requirements)
Now, it’s time to finalize the main settings for marksheets and here you will get a lot of features and options that helps you to design/manage your marksheets as per your requirements.

1. Student Profile Fields
Here, you can select the fields (information about students) you want to show on marksheets. It has 16 fields and you can select the fieds as per your requirements and the selected information will be shown on marksheets.
Available fields: Name, photo, father name, mother name, mobile number, admission number, admission date, registration number, enrollment number, roll number, scholar number, date of birth, address, class name, section, blood group
2. Manage Headings and Options
You can select/customize the below headings available on marksheet. If want to change the name of any heading/title on marksheet, you can simply edit and save. You can customize the below headings:
- Report Card Title: Mark Sheet – 2024 – 2025
- Student Profile Text: STUDENT’S PROFILE
- Academic Text: Academic performance – scholastic area
- Attendance Label: Academic performance – scholastic area
- Grade Label: Grade
- Grade Range: Subject Grade Range
- Obtained Marks: Obtained Marks
- Percentage Range: Percentage Remarks Range
- Result: Result
- Total Marks: Total Marks
- Overall Marks: Over All Marks
- Overall Grade: Grade
- Performance: Performance
- Percentage: Percentage
- Marksheet Date: Issued Date
- Parents. Sign.: Parents
- Discipline: Discipline
- Co-Scholastic Areas: Co-Scholastic Areas
- Authority/Principal Sign.: Principal Sign.
- Teacher Sign.: Teacher Sign.
Warning: You must setup these things before filling the marks, otherwise you need to update your marksheets (class wise, just edit and save) to fetch the current settings.
Pro Tip: If you want to show any text/heading/option on marksheet, just remove the value of the heading. For ex: if you don’t want to show parent’s sign on marksheet, just remove value ‘Parents’ from Parents. Sign. heading.
3.Attendance
Here, you can select the months to display the attendance records of the student. Use this feature if you are using attendance module of Vedmarg attendance management system otherwise it will show blank entries in all months.
Pro Tip: If you want to fill the attendance manually, then you can use attendance on marksheet.
4. Show/Hide Options
If you want to show the following boxes/details on marksheets, you can just tick mark and these date will be hidden from all marksheets.
- Hide Attendance (tick to hide from marksheet)
- Hide Discipline Card (tick to hide from marksheet)
- Hide Co-Scholastic Areas (tick to hide from marksheet)
- Hide Grade Range Card (tick to hide from marksheet)
- Hide Percentage Range Card (tick to hide from marksheet)
5. Select Marksheet Format
Here, you can select the format of the marksheets, like:
- Normal Marksheet (without term/group settings)
- CBSE Marksheet (CBSE approved, with term-1, term-2 settings) – Recommended
Step 9: Start Filling Marks Online (Bulk Marks Entry)
After saving all the settings as described in step 1 to step 8, you are ready to fill your marks online and its available in bulk mode.

- Just go to marksheet > bulk marks update (link: https://account.vedmarg.com/user/marksheet/bulk-update)
- Select the class, section and stream (select no stream if your class has no stream and we asked to create a ‘no stream’ by default)
- Now, you will get a list of students, and subjects available with the exam, maximum marks and total fields.
- You can enter marks subject wise and will be added to the total automatically.
- If you have conducted the multiple exams or filled marks of any exam recently, the marks and other exams will be displayed here.
- Also, here you will a list of discipline and activities subjects to set grade for these subjects (depends on settings)
- After filling the marks, just save the marks and download the excel file for your reference.
- Now,you can view/download marksheets from marksheets options.

Warning: If you delete any subject and re-create, the marks of the filled subjects, will be lost and you need to fill again.
Pro Tip: You can enter marks anytime, or partially, all data are saved properly. You can download marksheets class-wise, or student-wise.
Step 10: Send SMS to Collect Marksheets / Share Through Mobile App
After creating the marksheets, it’s time to distribute the marksheets to all the students. So, you can send the message and notifications to all the students through Vedmarg SMS features.

- Go to SMS > send new SMS (link: https://account.vedmarg.com/user/sms/reports)
- Select message template for marksheet distribution.
- Select the classes
- Hit send button.
- SMS and app notifications will be delivered to all the students having mobile numbers on portal and mobile app installed in their mobile phone.

CBSE Marksheet Format for School & Colleges
Vedmarg ERP offers multiple CBSE marksheet format for school and colleges. In addition, it provides great customization for creating a CBSE report card with a comprehensive evaluation that provide ease to school management.
The CBSE school marksheet format is different than the state boards. Therefore, multiple CBSE class marksheet format allows the school management (software) to select the format that suits them the most.
Marksheet Format – 5 Different Formats (CBSE and State Boards)
We are having 5 different marksheet format(s) of result cards (marksheets) on Vedmarg School ERP and all the clients are free to use any format as per their affiliation/boards. We have 40+ dynamic fields to make everything customizable as per the school’s requirements.
Grade System in Marksheet
Vedmarg allows admin or authorised person to setup grade system in marksheet module and they can setup grading system as per their requirements. Grade system is fully dynamic system in Vedmarg educational ERP and flexible to adjust as per the requirements.
Online CBSE Marksheet Creation vs Manual Marksheet Preparation
Traditional manual marksheet preparation is time-consuming and prone to errors. Modern schools are shifting to online CBSE marksheet creation systems for accuracy, efficiency, and compliance.
Comparison Table: Online vs Manual Marksheet
| Aspect | Online CBSE Marksheet System | Manual Marksheet Preparation |
|---|---|---|
| Accuracy | Auto-calculated totals, grades & percentages | High chances of calculation errors |
| Time Required | Generate hundreds of marksheets in minutes | Takes days or weeks |
| CBSE Compliance | Predefined CBSE format & grading rules | Manual formatting required |
| Error Correction | Easy edits before final submission | Rewriting or reprinting needed |
| Data Security | Secure digital storage with access control | Risk of loss or damage |
| Record Management | Year-wise digital archive | Physical file storage |
| Reprinting | Instant reprint anytime | Manual rework required |
| Scalability | Easily handles large student data | Becomes complex with scale |
| Audit & Reports | Quick retrieval for audits | Manual searching needed |
Frequently Asked Questions (FAQ)
1. What does “Create CBSE Marksheet Online” mean?
It refers to generating CBSE-compliant student marksheets digitally using software instead of manual calculations.
2. Is the online CBSE marksheet format CBSE-approved?
Yes, Vedmarg follows CBSE-recommended marksheet structure and grading rules.
3. Can schools edit marks before finalizing the marksheet?
Yes, marks can be edited until the marksheet is finalized and published.
4. Does the system calculate grades automatically?
Yes, grades, totals, and percentages are auto-calculated based on CBSE rules.
5. Can marksheets be downloaded as PDF?
Yes, marksheets can be downloaded and printed in PDF format.
6. Is the system suitable for senior secondary CBSE schools?
Absolutely. It supports both secondary and senior secondary CBSE schools.
7. Can teachers access the marksheet module?
Yes, role-based access allows teachers to enter and manage marks securely.
8. Are student marksheets stored securely?
Yes, all academic data is stored securely with access control.
9. Can schools generate duplicate marksheets?
Yes, previously generated marksheets can be reprinted anytime.
10. Does it support multiple exams and sessions?
Yes, the system supports multiple exams, terms, and academic sessions.
11. Can parents or students view marksheets online?
If enabled by the school, marksheets can be shared via student/parent portals.
12. Is CBSE marksheet creation part of Vedmarg ERP?
Yes, it is fully integrated with Vedmarg’s education ERP system.
Conclusion About CBSE Marksheet
The marksheet module of Vedmarg school ERP software is an excellent solution to maintain & streamline the result card generation process. It simplifies the marksheet creation task to a great extent. This way it not only enhances the productivity of the school but also ensures utmost accuracy in the data records.
Simplify examinations and eliminate manual errors with a smart CBSE marksheet creation system.
👉 Request a free demo today and experience fast, accurate, and digital marksheet generation with Vedmarg.


