


Enterprise Resource Planning (ERP) software has become a necessity for schools and institutes substantially. The adoption of ERP solutions brings plenty of fruitful benefits to educational institutions in streamlining their day-to-day activities. So, today we will help you in adding classes, subjects, and books on Vedmarg school management software.
Important Topics
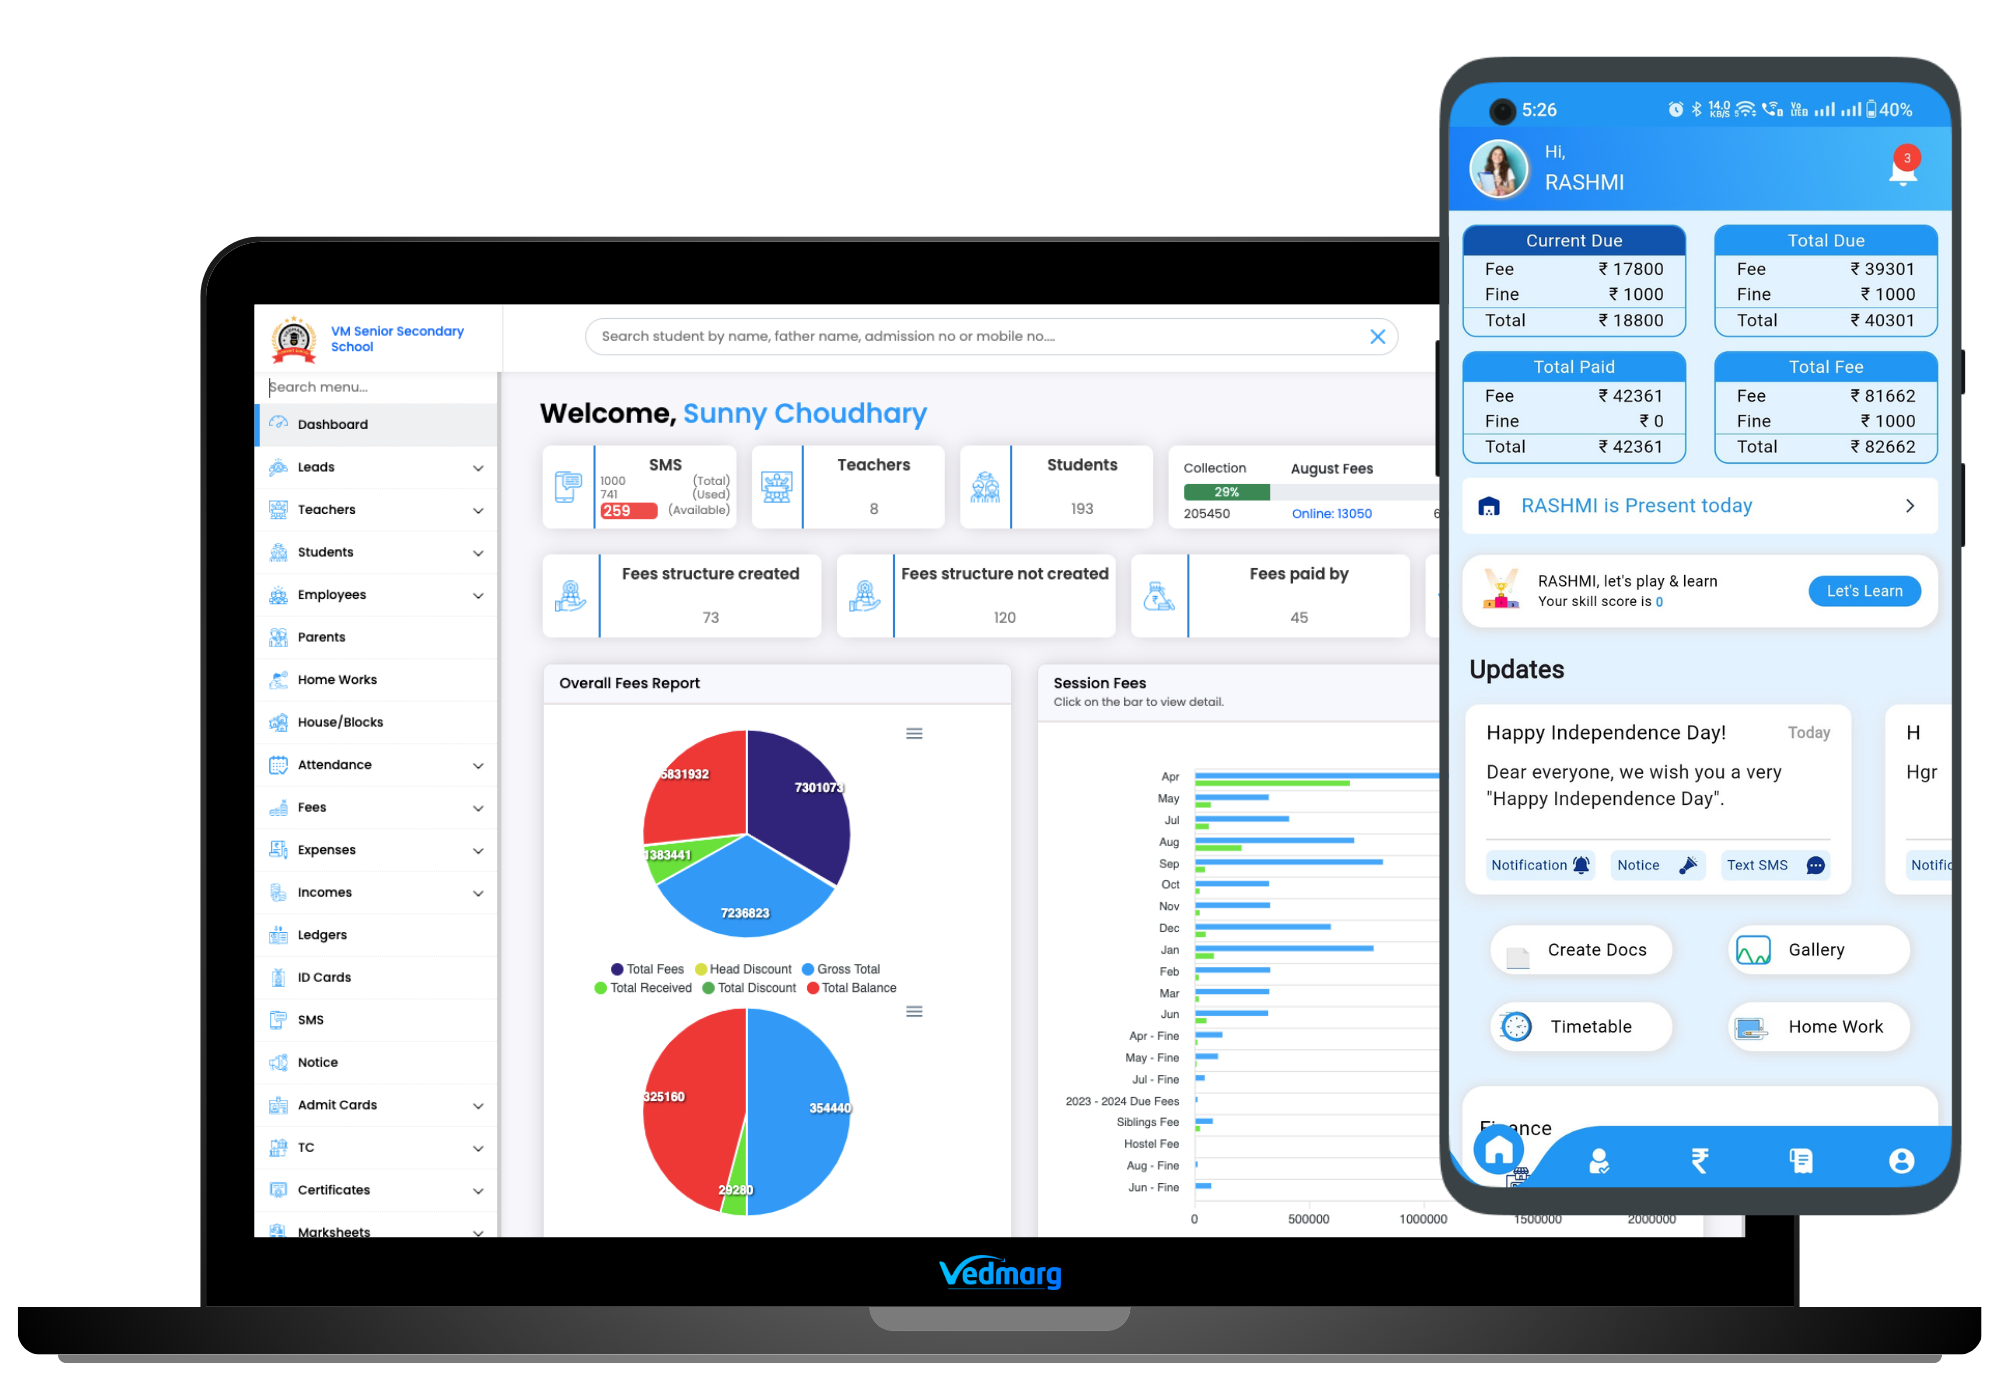
Vedmarg School Management software is a 360° school software that provides cutting-edge solutions for handling the administrative operations of schools and institutions. It significantly saves time & effort, and it allows the school staff to pay attention to more important aspects of the school.
In this article, you will understand how you can add a class, its sections, a subject, and a book to the Vedmarg cloud-based ERP system.
How to Add Leads in Vedmarg School ERP – Leads Management System
How to Add Classes & Sections in the Vedmarg School ERP System
You can add classes & sections in Vedmarg school software by the following steps:
Step 1: In order to add a class and its sections in Vedmarg school ERP software, you have to visit our website: https://www.vedmarg.com and there is an icon for the user account/dashboard.
Step 2: You can visit the Vedmarg dashboard through this link as well: https://account.vedmarg.com.
Step 3: After logging into your school management software dashboard, go to the ‘Master’s Section’ in the left sidebar menu. There you will see the ‘Classes’ option.
How to Create a CBSE Marksheet on Vedmarg School ERP Software

Step 4: Click on that particular option. It will redirect you to the classes page where you can add, edit, view, or delete information related to all your classes and their sections.

Step 5: You can add a new class & section by entering the class name in the ‘class name’ field section & ‘choose the class section’ accordingly.

Step 6: You need to click on the save button after adding a class name & assigning a section to it. This is how you can add a new class in Vedmarg school ERP in 6 simple steps.
Tip:
- You can edit the class name & section anytime and it will be renamed in complete ERP.
- You can set the classes’ position by ‘drag and drop’ in the list.
- These class & section names will appear in the ‘student sample import file’ to map all students accordingly.
How To Send Notice/Announcements via Vedmarg School ERP – Unlimited, Anytime
How to Add Subjects in Vedmarg School Management Software
You can add a subject to the Vedmarg ERP system by following the subsequent below-mentioned steps:
Step 1: After logging into your school management software dashboard, go to the ‘Master’s Section’ in the left sidebar menu. There you will see the ‘Subjects’ option.

Step 2: You can add a subject by clicking on the ‘+’ symbol in the upper-left corner.
![]()
Step 3: When you click on the ‘+’ icon, you will get a popup with various subject-related fields that are as follows:
- Enter the Subject Name.
- Select the Classes.
- Choose the Section.
- Select the Stream like PCM, PCB, Commerce, Arts, Humanities, etc (if any).
- Select the Type. It is divided into 3 sub-parts i.e. Grade, Discipline, & Activity. (In order to add the marks in the mark sheet, choose the Grade type).
- Upload a featured image (Optional).
- A short description (Optional).

Step 4: You can click on the submit button after adding a new subject.
Tip:
- You can add a subject for multiple classes in a single click.
- You can add a new stream or select the one that has already been created.
- You can add descriptions for subjects.
- The subject will help you in making timetables for classes, their sections, and teachers.
- You can add unlimited subjects to any class & its sections.
- Students can see the subjects on their mobile app.
How to Setup Transport Fee Management System – Software for School Management
How to Add Streams in Vedmarg School Management Software
You can add a stream to the Vedmarg ERP system by following the subsequent below-mentioned steps:
Step 1: After logging into your school management software dashboard, go to the ‘Master’s Section’ in the left sidebar menu. There you will see the ‘Streams’ option.
Step 2: Click on that particular option. It will redirect you to the streams page where you can add a new stream by entering the stream name like PCB, PCB, Humanities, etc.
Step 3: You can click on the save button after adding a new stream.
Tip:
- You can edit, view, or delete a stream anytime.
- You can only use some literals that are [a-zA-Z0-9.,-_ ]) * while adding or editing a stream name.
How to Add Books in Vedmarg School Software
You need to follow some easy steps in order to add a book to Vedmarg school management software:
Step 1: After logging into your school management software dashboard, go to the ‘Master’s Section’ in the left sidebar menu. There you will see the ‘Books’ option.

Step 2: You can add a book by clicking on the ‘+’ symbol in the upper-left corner.
Step 3: When you click on the ‘+’ icon, you will get a popup with various book-related fields such as book name, select class, select a subject, and a short description.

Step 4: You can click on the save button to add a book to the ERP management system.
Tip:
- There is no limit for books. So, you can add unlimited books for each subject in any class.
- You can add/edit/delete books anytime.
- Students can see the books’ details on their mobile app.
How To Send SMS in Vedmarg School ERP (DLT Approved 30+ SMS Templates)
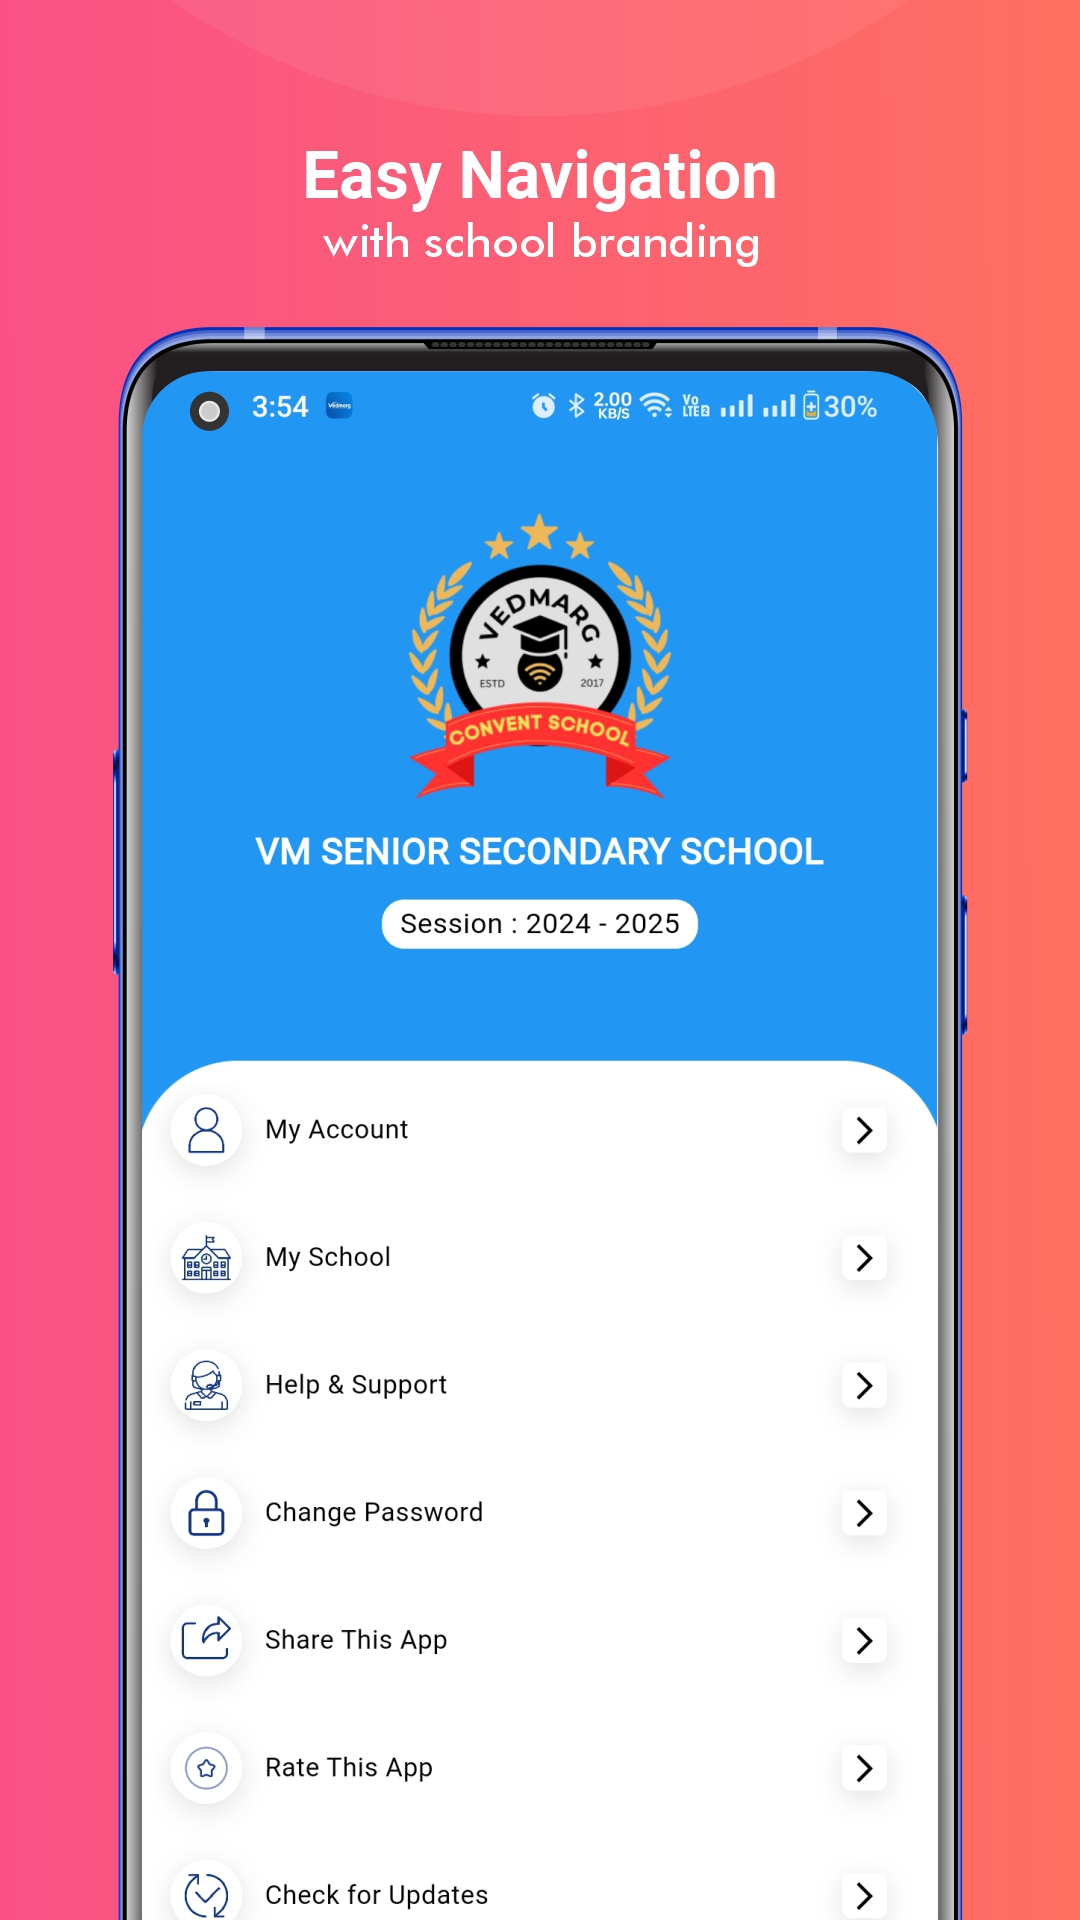
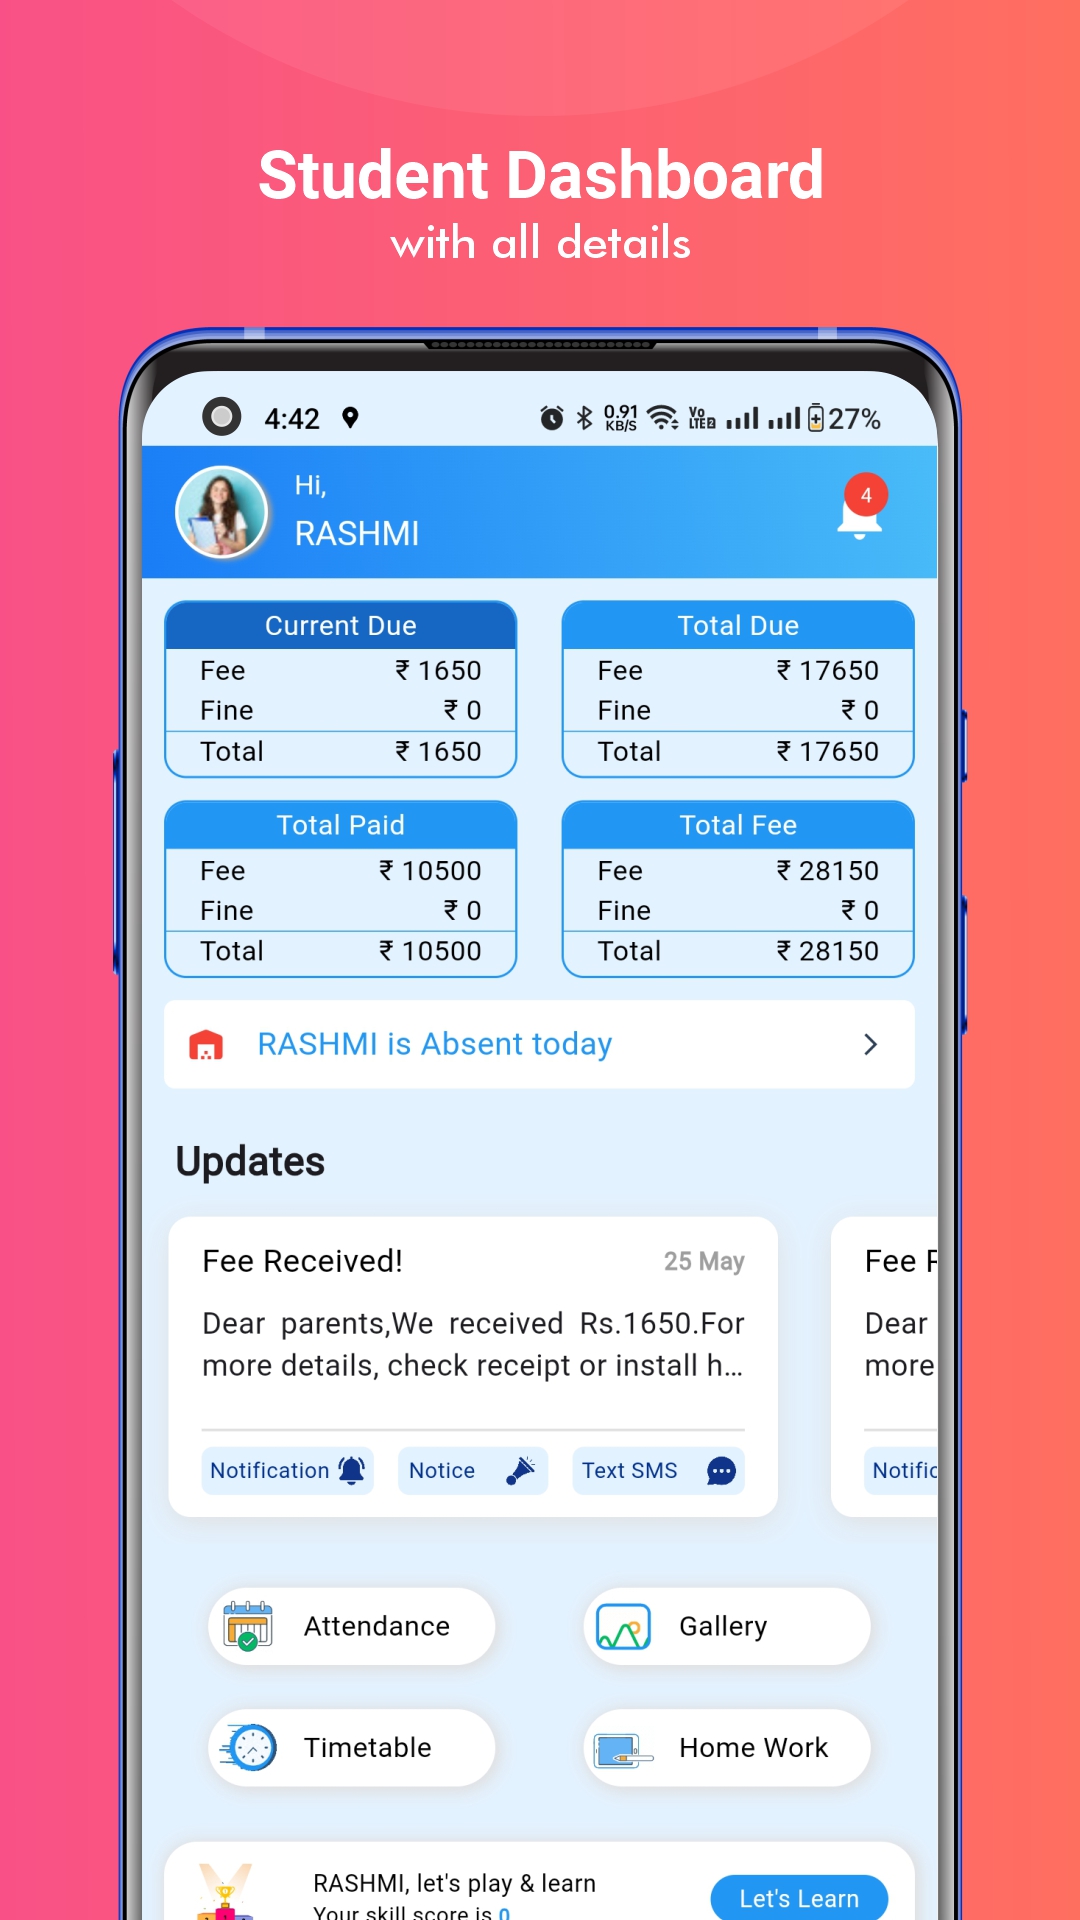
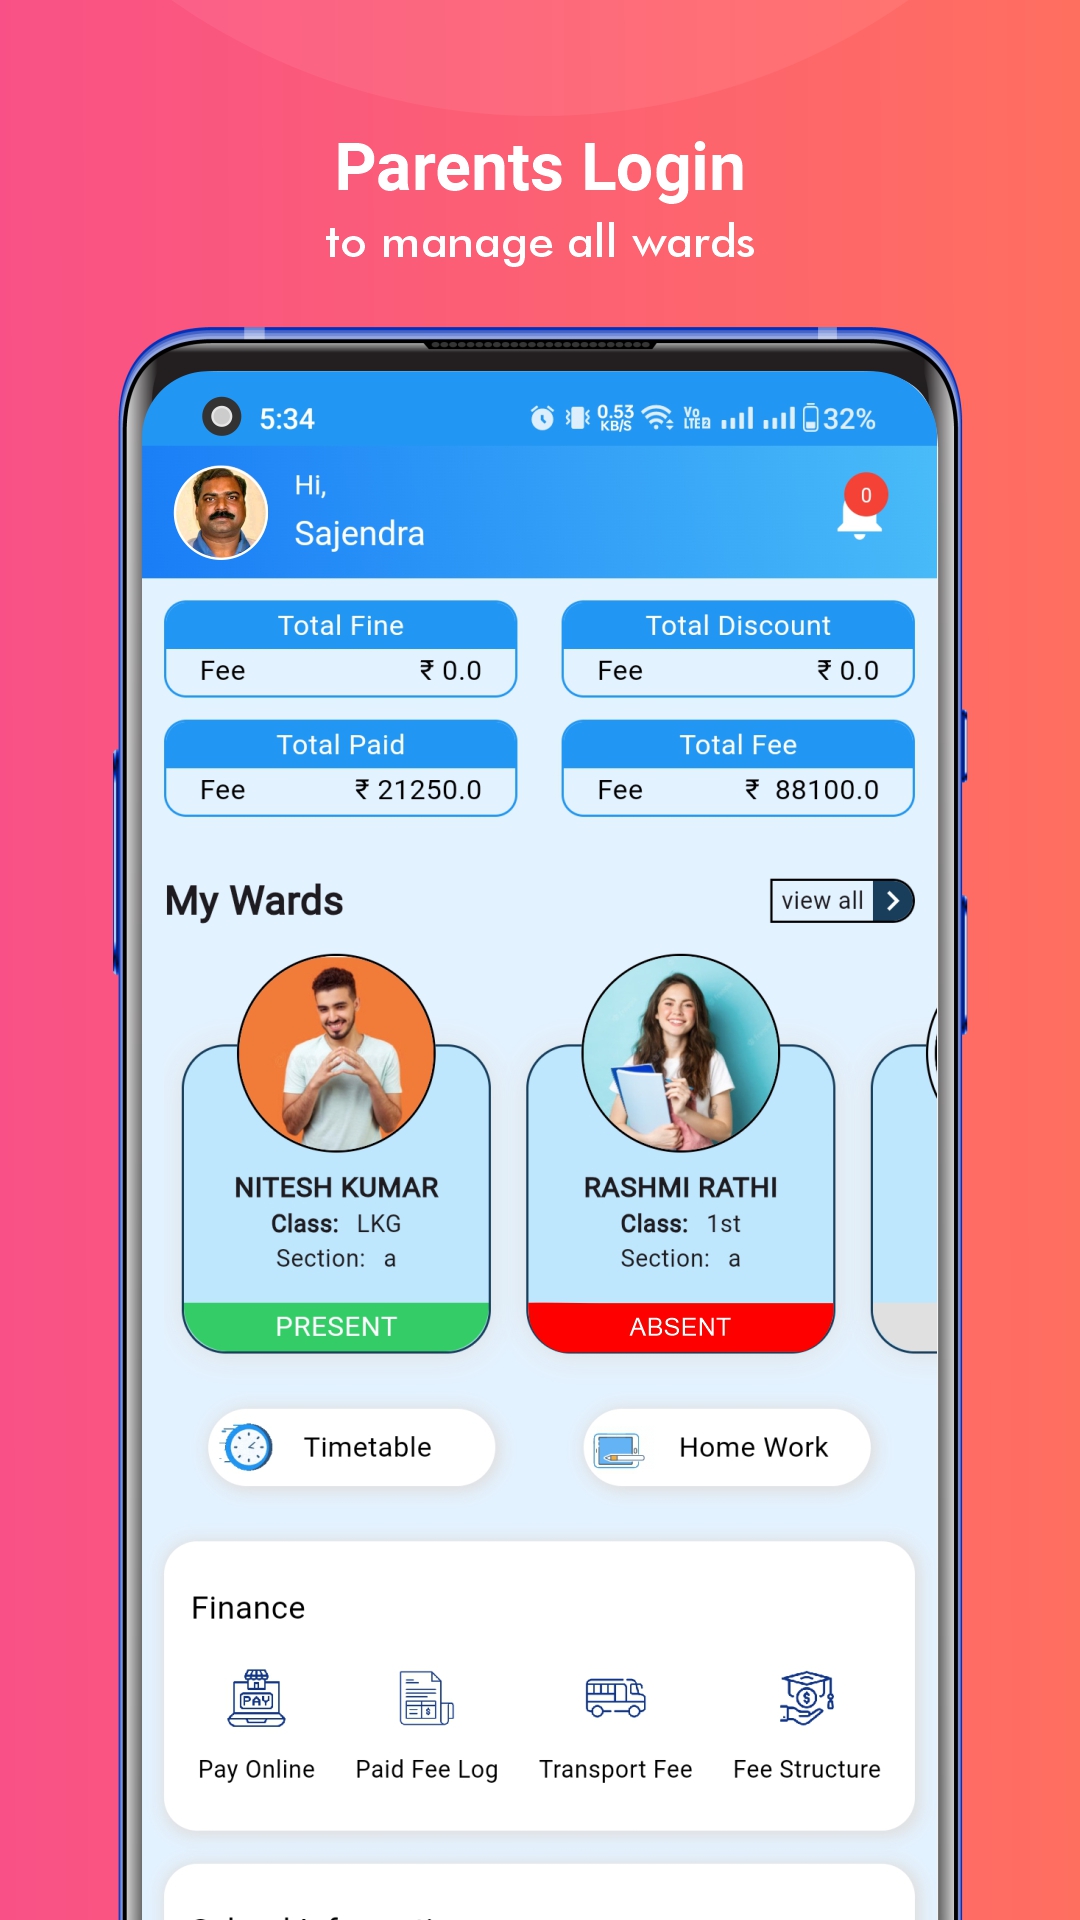
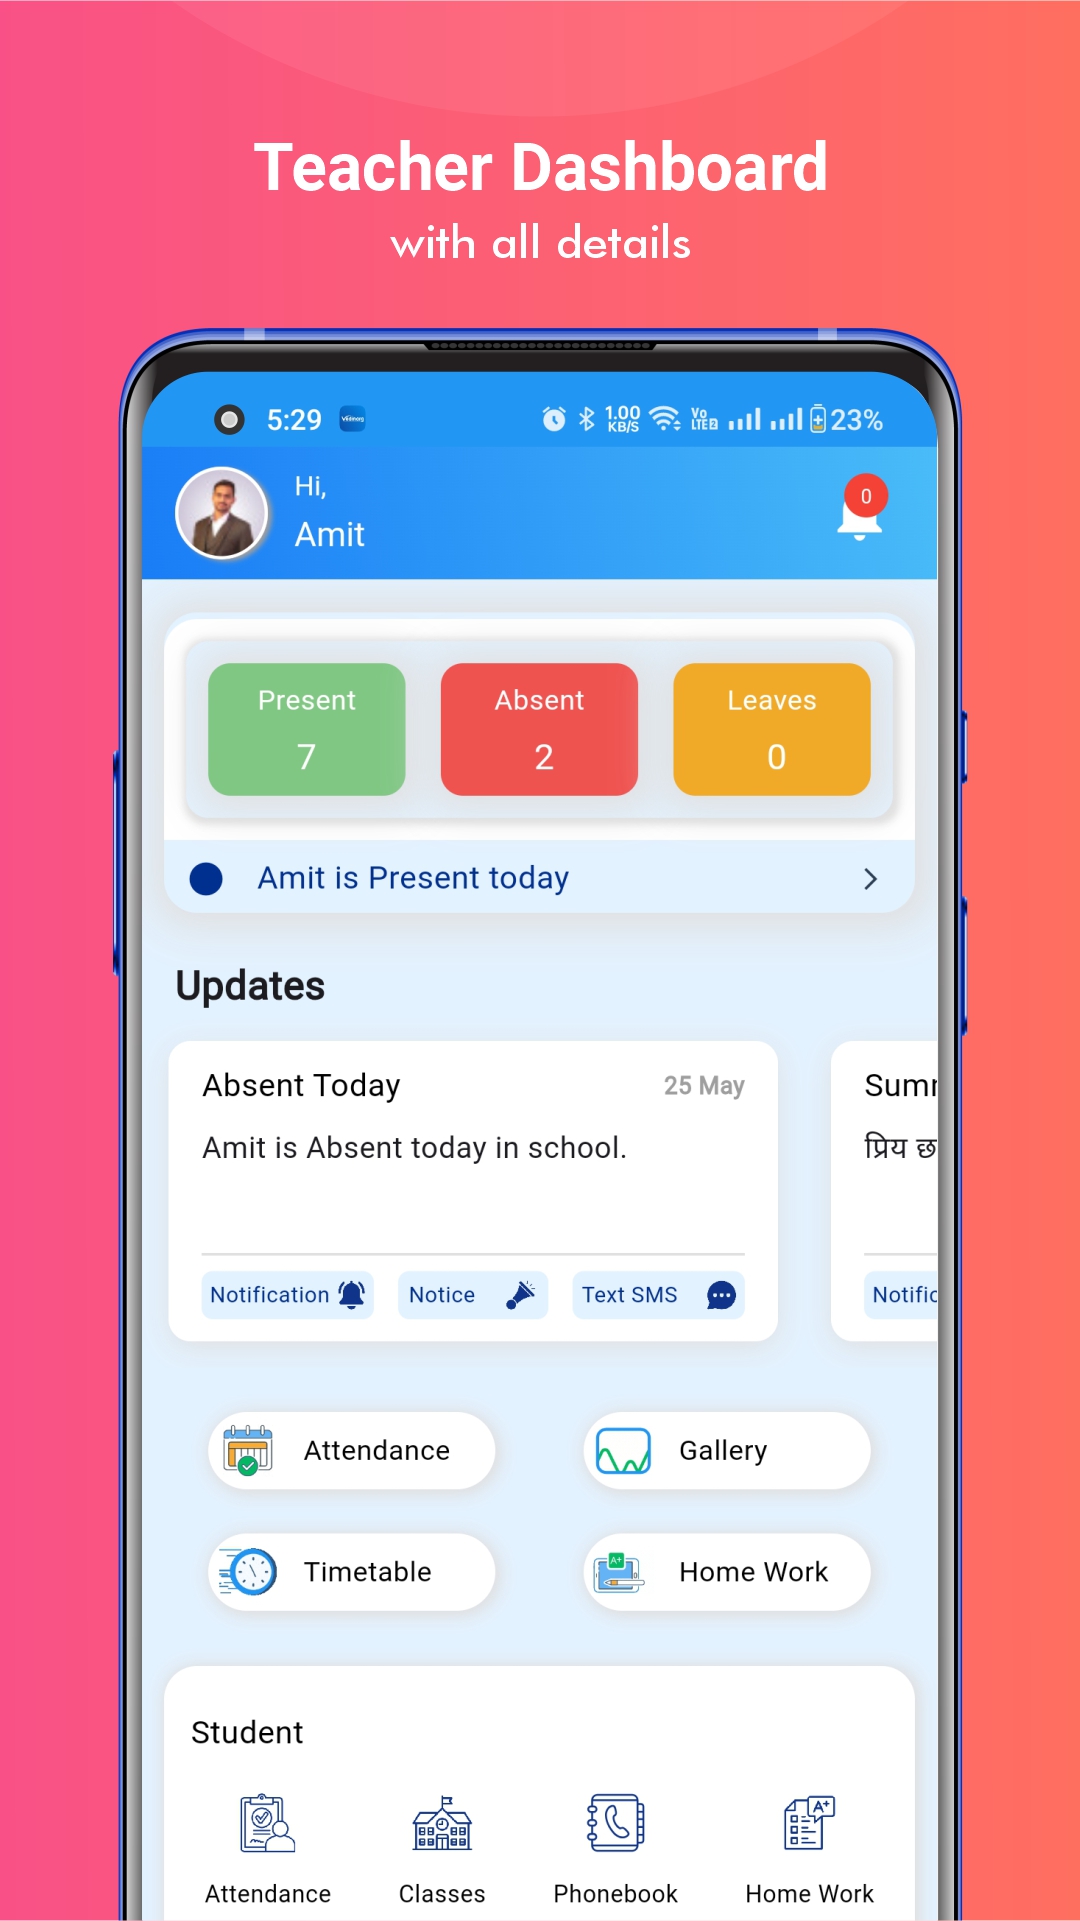
Vedmarg School ERP software is assembled with a complete suite of 80+ school management modules. Moreover, we have launched 2 Android applications on the play store i.e. ‘Vedmarg – Admin Panel’ & ‘Vedmarg – Student Application’. In addition to this, the ‘Vedmarg – Parent Portal’ is in the development stage. We will launch it in 2025.
You can avail of our free demo to see, analyze, and experience how ‘Vedmarg ERP’ turns out to be a big boon for your institution. Drop a message or call us at +91-7500996633 to get all the details to digitalise your school.


