


Managing student movement within a campus is a critical responsibility for schools, colleges, and educational institutes. A Gate Pass Management System for schools, colleges, and institutes ensures that every entry and exit is secure, tracked, and properly authorized.
Important Topics
Vedmarg offers a smart, digital Gate Pass Management System that helps institutions replace manual registers with a secure, real-time, and automated solution—improving safety, accountability, and operational efficiency.
#1 Gate Pass Management System for Schools, Colleges & Institutes
Educational institutions like schools, colleges, coaching centres, and others need a reliable solution to manage the entries and exits of students, staff, and visitors. Vedmarg ERP software has introduced its latest feature, the Gate Pass Management System Module. This module ensures that every movement in and out of the institution is well-recorded and documented, enhancing operational excellence.

What Is a Gate Pass Management System?
A Gate Pass Management System is a digital solution that records and manages student, staff, and visitor movement inside and outside the campus.
Instead of handwritten registers or verbal permissions, the system allows:
-
Digital gate pass requests
-
Admin or authority approval
-
Real-time entry and exit tracking
-
Secure record keeping
This ensures complete transparency and campus safety.

Setup and Manage Academic Calendar for Schools, Colleges, Institutes
Why Schools & Colleges Need a Gate Pass Management System?
-
Enhanced Student Safety
Every student exit is logged and approved, reducing unauthorized movement and security risks.
-
Real-Time Monitoring
Administrators and security staff can instantly track who is inside or outside the campus.
-
Elimination of Manual Registers
Digital gate passes remove paperwork, reduce errors, and save time for staff and security teams.
-
Improved Parent Trust
Parents gain confidence knowing that student movement is controlled and monitored digitally.
Types of Gate Passes Supported
-
Student Gate Pass
Used for medical visits, early leave, parental requests, or emergency exits.
-
Staff Gate Pass
Tracks staff movement during working hours.
-
Visitor Gate Pass
Registers parents, vendors, and guests entering the campus.
-
Emergency Gate Pass
Quick approvals for urgent or critical situations.
Key Features of the Gate Pass Management System Module
1. Gate Pass Settings: The Gate Pass Module comes with customizable settings, allowing admins to set up security parameters as per the institution’s requirements. Schools and colleges can set up approval processes, and permission levels accordingly for different categories—students, staff, and visitors.

2. Purpose of the Gate Pass Management System Module: You need to add the gate pass’s ‘Purpose Name’. It could be ‘Meeting’, ‘Admission’, ‘Enquiry’, etc.
3. Adding Gate Details: It includes adding the ‘Gate Name’ & ‘Gate Number’.

4. Managing All Gate Passes in One Place: With Vedmarg ERP, institutions can manage all issued gate passes from a centralized dashboard. This includes:
- Creating a new gate pass.
- View & edit previously created gate passes.
- Searching and filtering gate passes.
- Generating & print gate pass reports.
How To Apply Leaves Using Leave Management System on Vedmarg
Steps to Set Up & Create Gate Pass in Vedmarg (A Detailed Guide):
Step 1: Visit our website: https://www.vedmarg.com. There is an icon for the user account/dashboard.
Step 2: You can go to your dashboard through this link: https://account.vedmarg.com.
Step 3: After logging into your software’s dashboard, go to the ‘Gate Pass’ Section in the left sidebar menu. In that section, you will see 4 options, i.e. Gate Pass Setting, Purpose, Add Gate Details, & All Gate Pass. Let’s discuss them one by one.

Step 4: Click on ‘Gate Pass Setting’ to view, access, or edit the gate pass settings.
Step 5 (A): Setup Gate Pass Settings: Admins can set up the system using the following options:
- Select the Number of Copies of the gate pass
- Require Receiver’s Picture (Yes/No)
- Require OTP from Parents (Yes/No)
- Require OTP from Receiver (Yes/No)
- Require OTP from Staff (Yes/No)
- Require Staff Picture (Yes/No)
- Require OTP from Visitors (Yes/No)
- Require Visitor Picture (Yes/No)
(B): Customizing Gate Pass Labels: Different categories have different label requirements for signatures and authorizations:
- For Students: Authority/Principal Sign Label, Class Teacher Sign Label, & Receiver Sign Label.
- For Staff: Authority Sign Label, & Manager Sign Label.
- For Visitors: Visitor Sign Label & Authority Sign Label.
After setting up these settings, click on the ‘Save’ button.
Step 6: Adding the Purpose of the Gate Pass: Admins need to specify the purpose for which the gate pass is being issued. The purpose can be:
- Meeting
- Admission
- Inquiry
- Medical Emergency
- Personal Leave
- Official Visit
- Other
Once the purpose is selected, click on the ‘Save’ button.
Step 7: Adding Gate Details: In this step, you need to input the ‘Gate Name’ and ‘Gate Number’ to ensure proper tracking of entries and exits. It is useful when an institution has multiple gates. Once you have entered the required details, click on the ‘Save’ button.
Step 8: All Gate Pass: To view, edit, modify, or delete previously added gate passes, click on the ‘All Gate Pass’ section. This will redirect you to a page where you can manage existing gate passes. To Create a new Gate Pass:
- Click on the ‘+’ icon.
- Select the gate pass type: Student, Staff, or Visitor.
- Fill out the Gate Pass Form with the required details.
- You can also add attachments if needed.
- Once all details are entered, click on the ‘Save’ button to complete the process. This is how you can create a gate pass in Vedmarg ERP software.
Gatepass is available on our android & iOS Apps: Android: https://play.google.com/store/apps/details?id=com.vedmarg.app, iOS: https://apps.apple.com/us/app/vedmarg-students-teachers-app/id6503943693
Gatepass For Staff (Teachers, Employees, Management)
To create a gatepass for staff, you need to fill out the following details:
- Search staff by name, staff id or mobile number
- Staff ID and rolle will be filled out automatically
- Reason for leaving/gatepass
- Mobile number (OTP required)
- Gate no. to exit
- Date and time of gatepass
- Vehicle number
- Remark (if any)
- and, upload/capture pic of staff.

Gatepass for Visitors – OTP Based Visitor Management System
To create a gatepass for visitors, you need to fill out the following details:
- Name of visitor
- Reason/purpose of visit
- Gate no. to exit
- Check-in date and time
- Check-out date and time
- Vehicle number
- Remark (if any)
- Mobile number (OTP required)
- and, upload/capture pic of visitor

Benefits of Vedmarg ERP’s Gate Pass Management System Module
- User-Friendly Interface: Simple & easy to understand navigation ensures ease of use for users.
- Enhanced Security: Eliminates 100% unauthorized movements and provides digital log records.
- Increased Efficiency: Reduces manual paperwork and speeds up the approval process.
- Customizable Solution: Customizable settings according to the institutional needs.
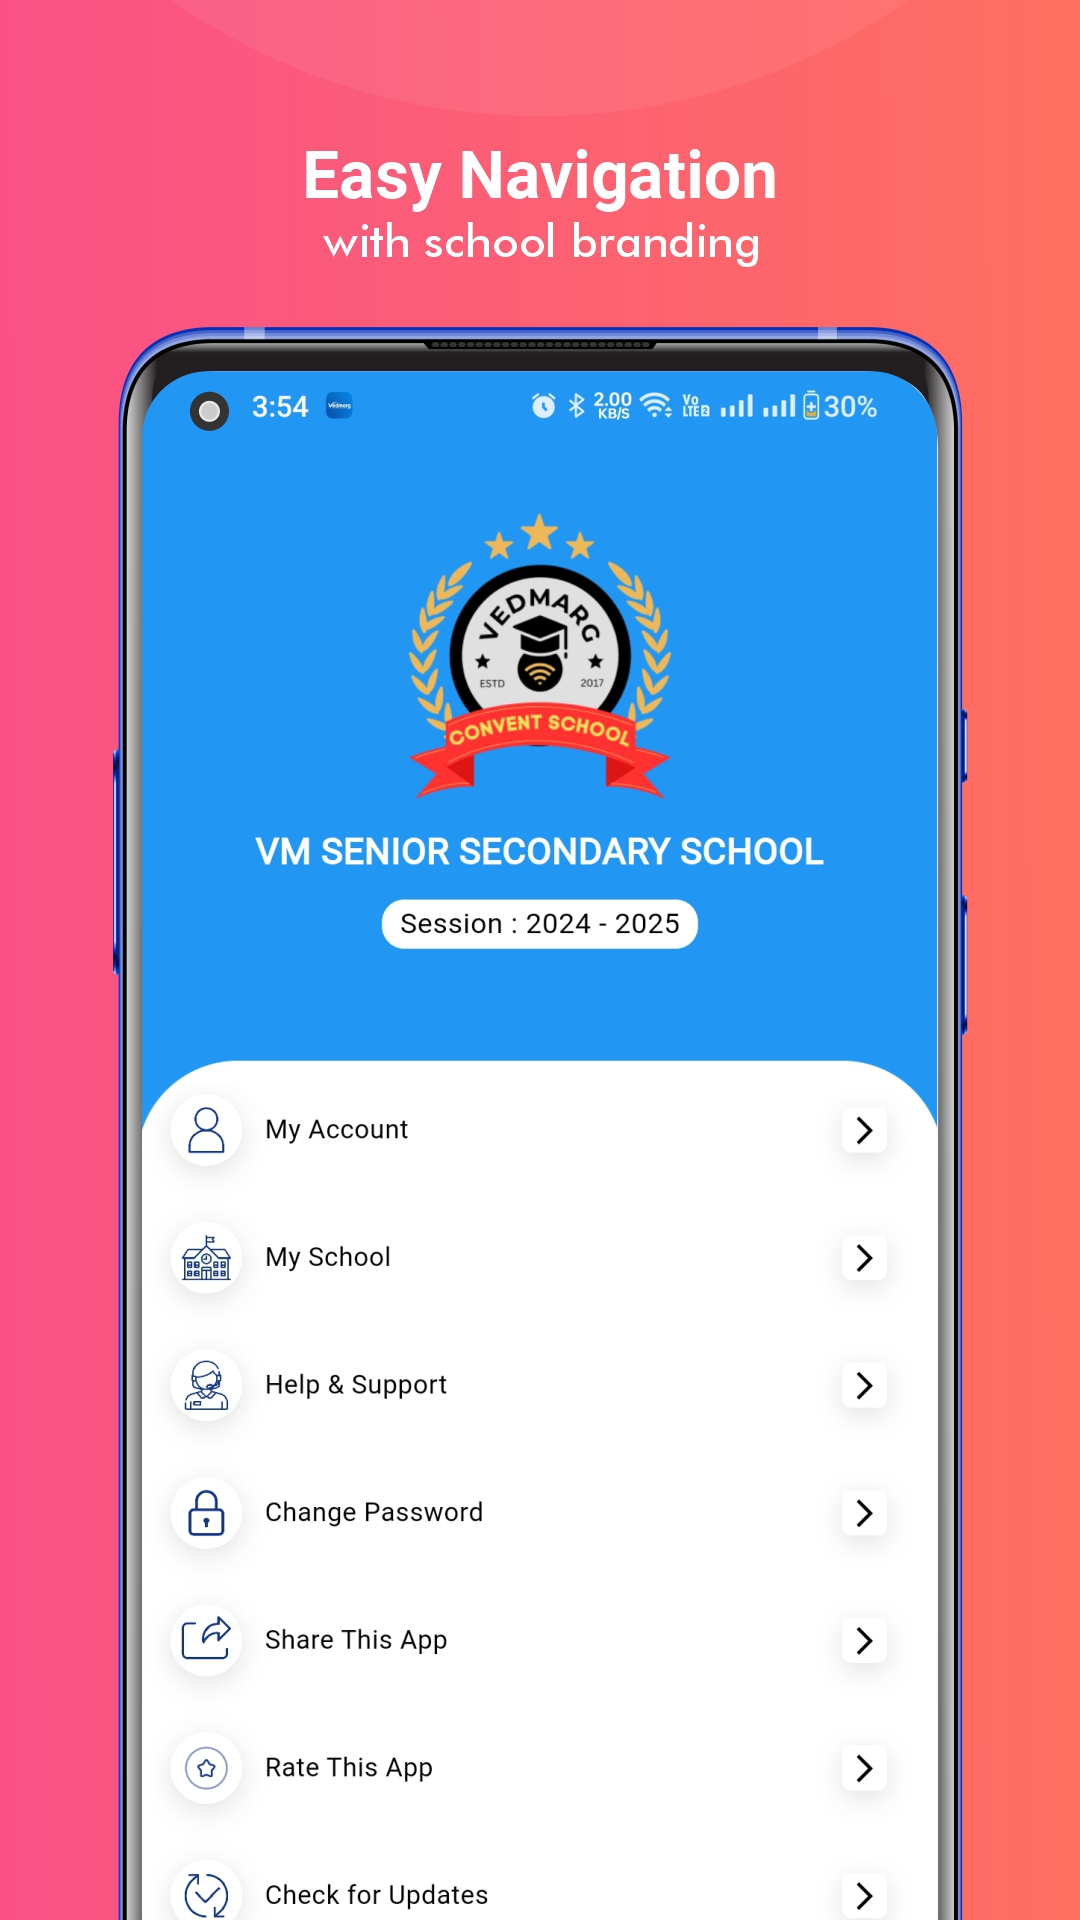
Gatepass on Mobile Apps for Parents, Staff, Students


With the addition of the Gate Pass Management System Module, Vedmarg ERP has taken another step in providing better solutions for schools and colleges. Upgrade your institution’s operational efficiency with Vedmarg’s today!
Use Cases of Gate Pass Management System
-
Early student leave requests
-
Medical or emergency exits
-
Parent or guardian campus visits
-
Vendor and service staff entry
-
Staff movement tracking
These real-world use cases make the system essential for modern institutions.
Benefits of Digital Gate Pass System for Educational Institutes
-
Improves campus security
-
Ensures student safety
-
Reduces manual workload
-
Maintains accurate movement records
-
Supports audits and compliance
-
Builds a disciplined campus environment
The system is suitable for schools, colleges, coaching centers, and universities.
Why Choose Vedmarg Gate Pass Management System?
Vedmarg provides a modern education ERP with powerful safety and administration tools. Its Gate Pass Management System is:
-
Easy to use
-
Highly secure
-
Customizable as per institution policy
-
Integrated with student and staff records
With Vedmarg, institutions move towards a digitally secure campus.
Frequently Asked Questions (FAQ)
What is a gate pass management system in schools?
It is a digital system used to track and control student, staff, and visitor movement within the school campus.
Is gate pass management mandatory for schools?
While not mandatory, it is highly recommended for improving safety, discipline, and accountability.
Can gate passes be approved digitally?
Yes, Vedmarg allows digital approval by authorized staff or administrators.
Is the system suitable for colleges and institutes?
Yes, it works perfectly for schools, colleges, universities, and coaching institutes.


